Feeling stuck with Segment? Say 👋 to RudderStack.
Blogs
How to Send Data in 5 Minutes Using RudderStack
Written by
Benji Walvoord

A few weeks ago, we published a video guide to Sending Data in 5 Minutes using RudderStack, and we thought it might be helpful to produce a companion doc outlining the specific steps and links discussed in the presentation. To reproduce the video content on your own, go ahead and set up a free trial account of customer.io (no credit card required) as well as a GitHub account for creating and publishing the HTML form. The HTML and Event Handler files you’ll need are attached at the bottom of this post.
Send data from your website to cloud tools
In this guide, you’ll learn how to set up a free account with RudderStack and create a connection using a Javascript SDK source to collect form submissions from your website in git and send them to customer.io.
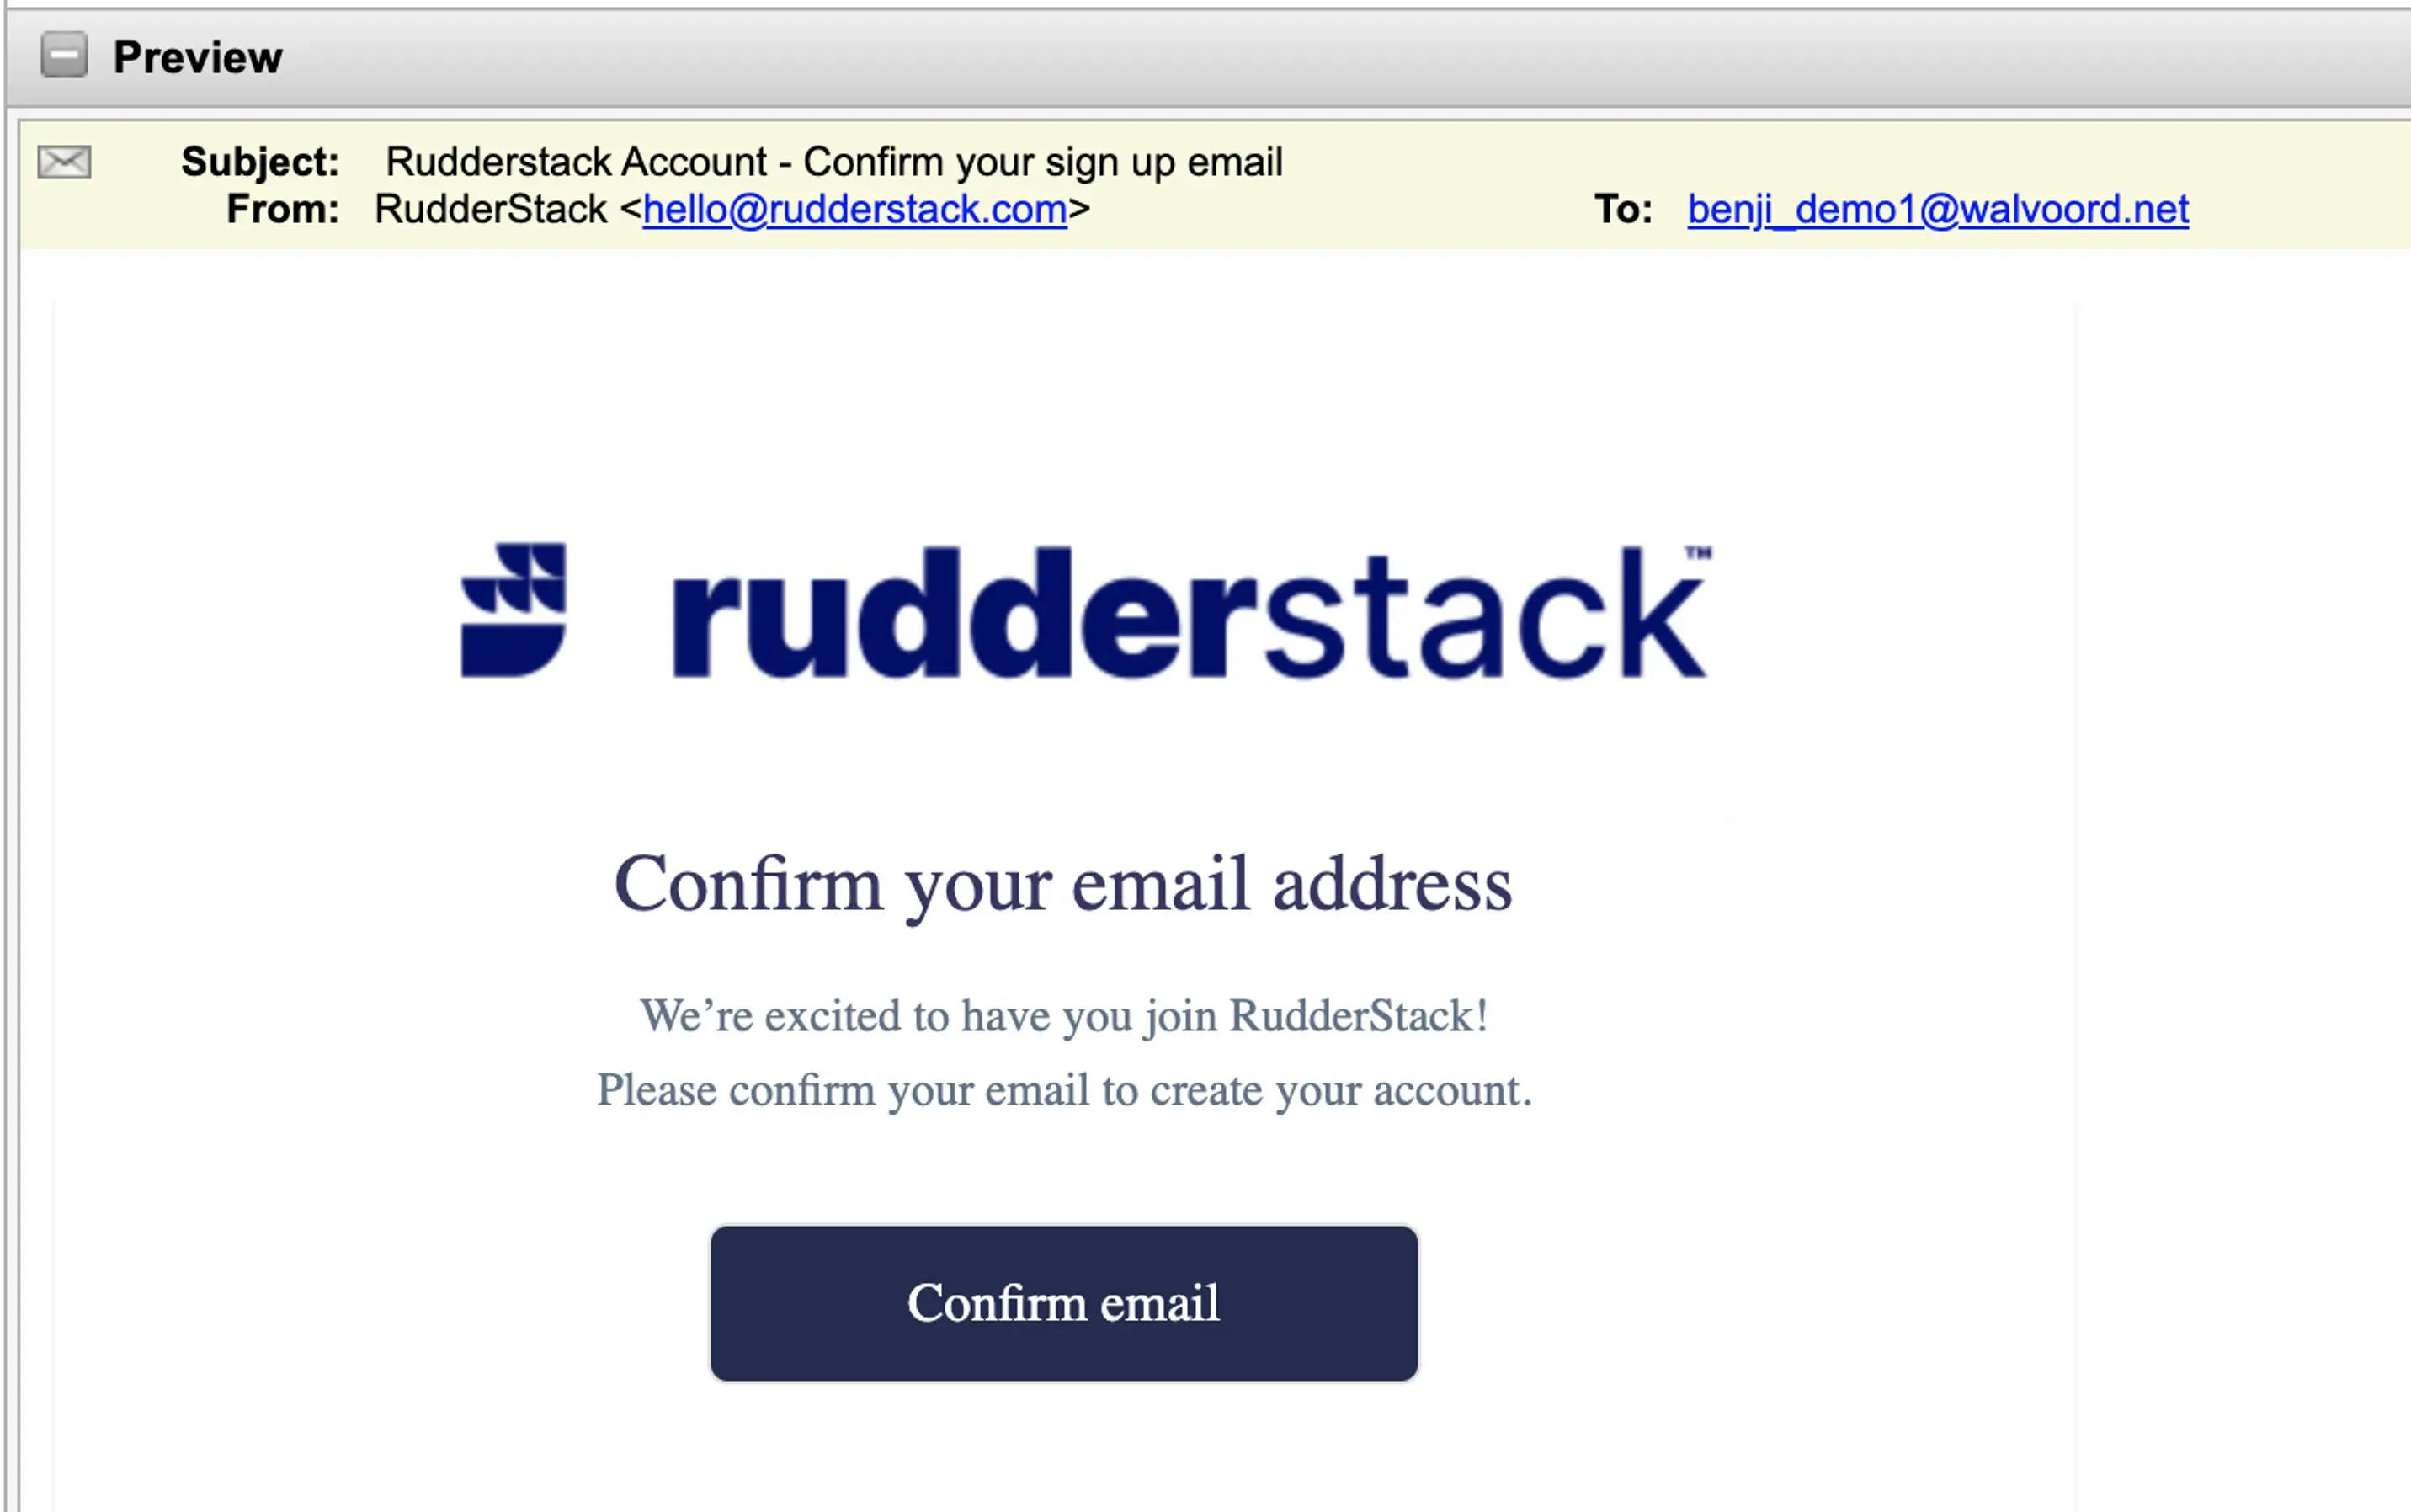
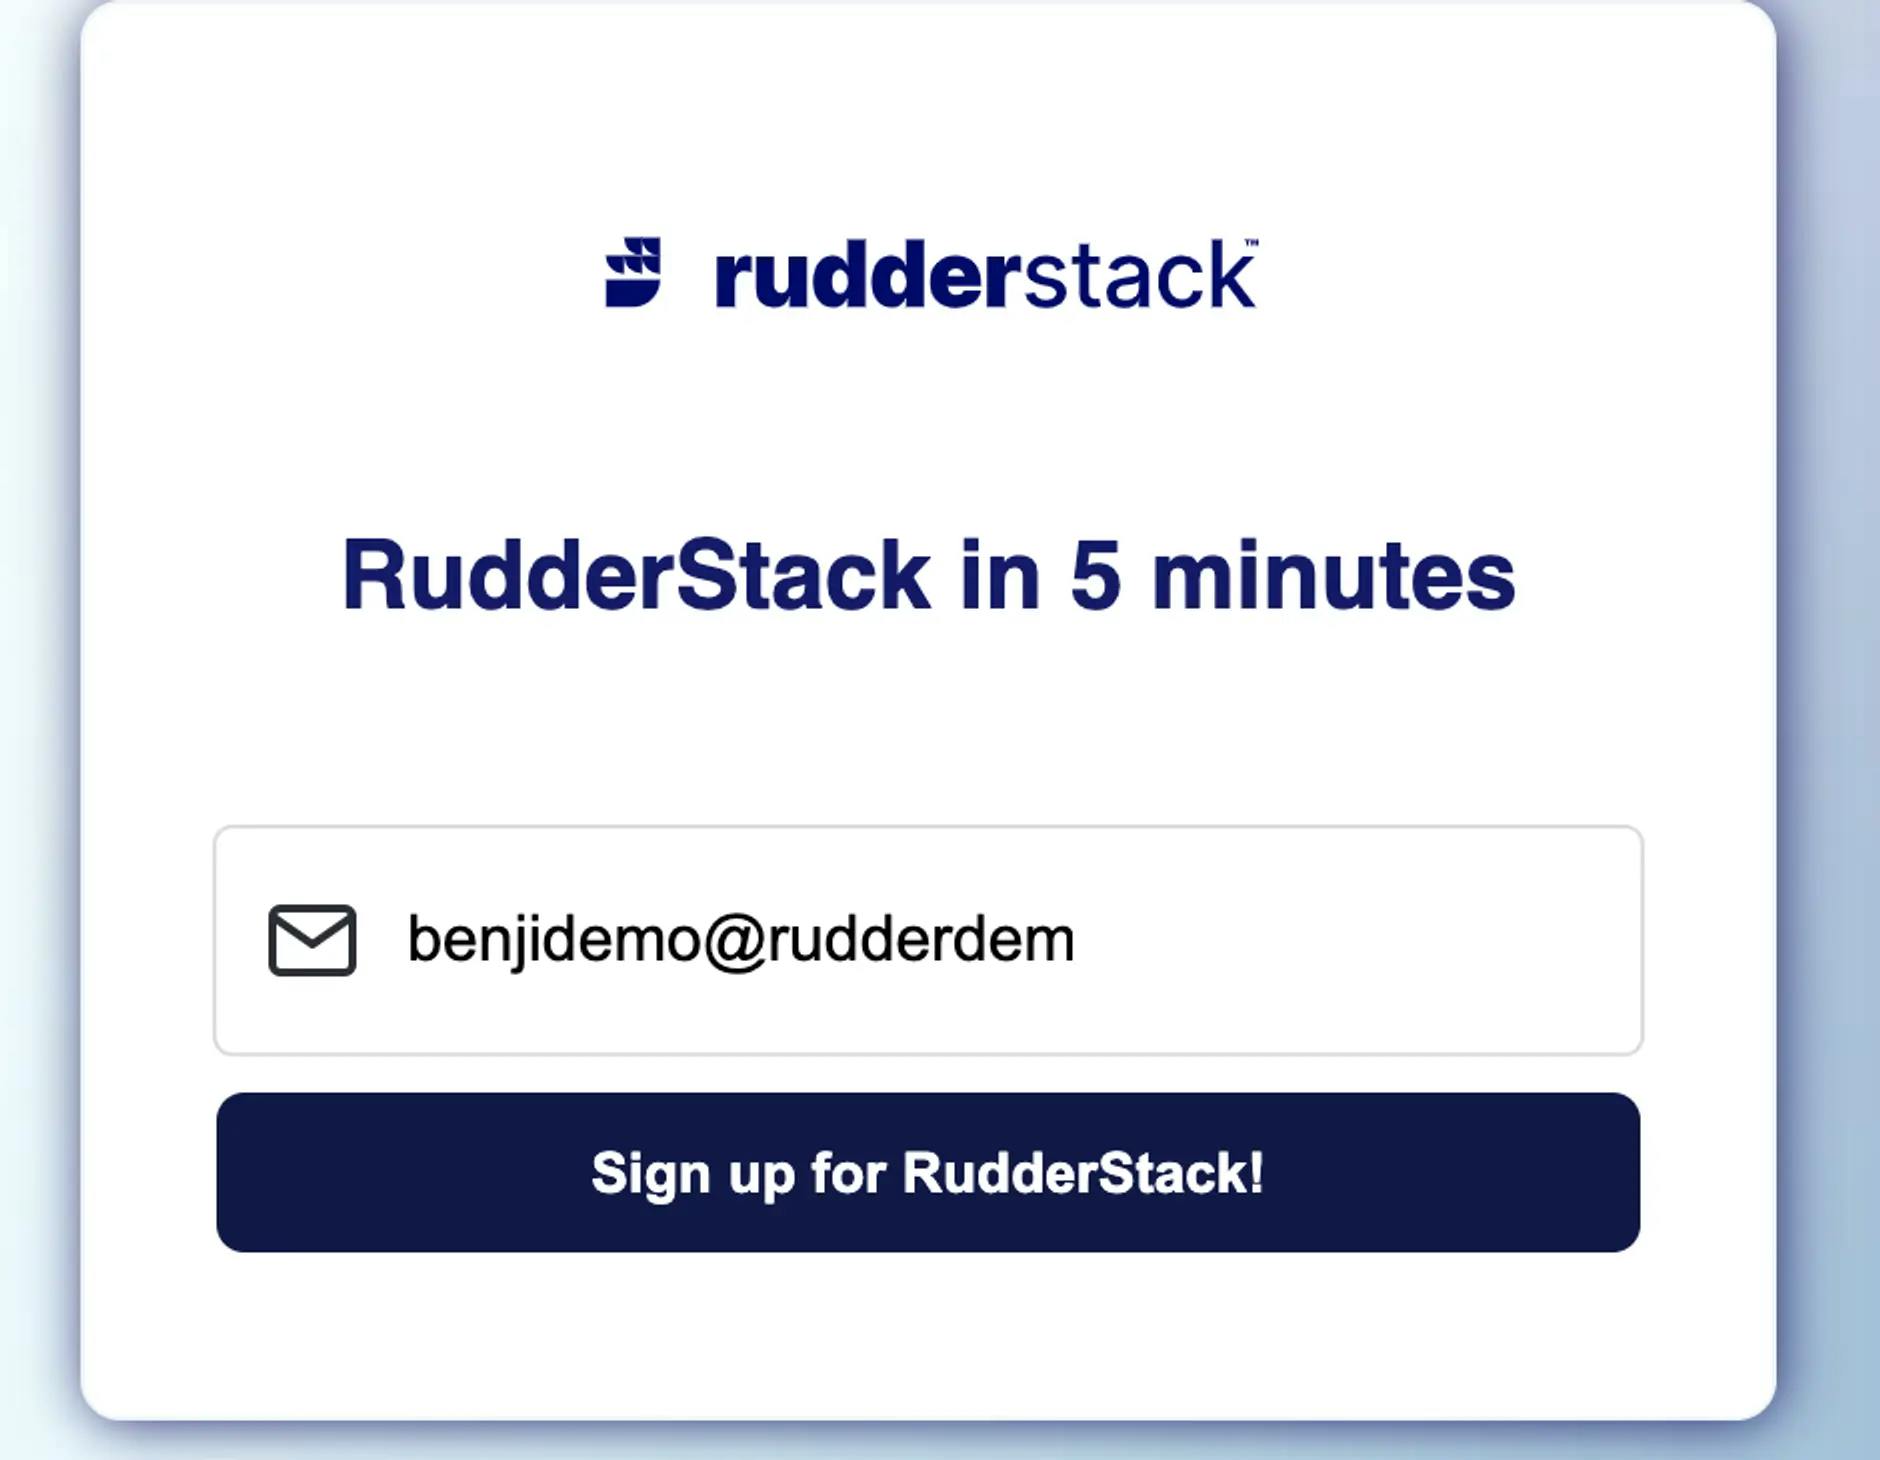
1. Sign up for a free RudderStack cloud account here, then wait about 10 seconds and refresh your email.
2. Confirm your email address to complete the signup on your account.
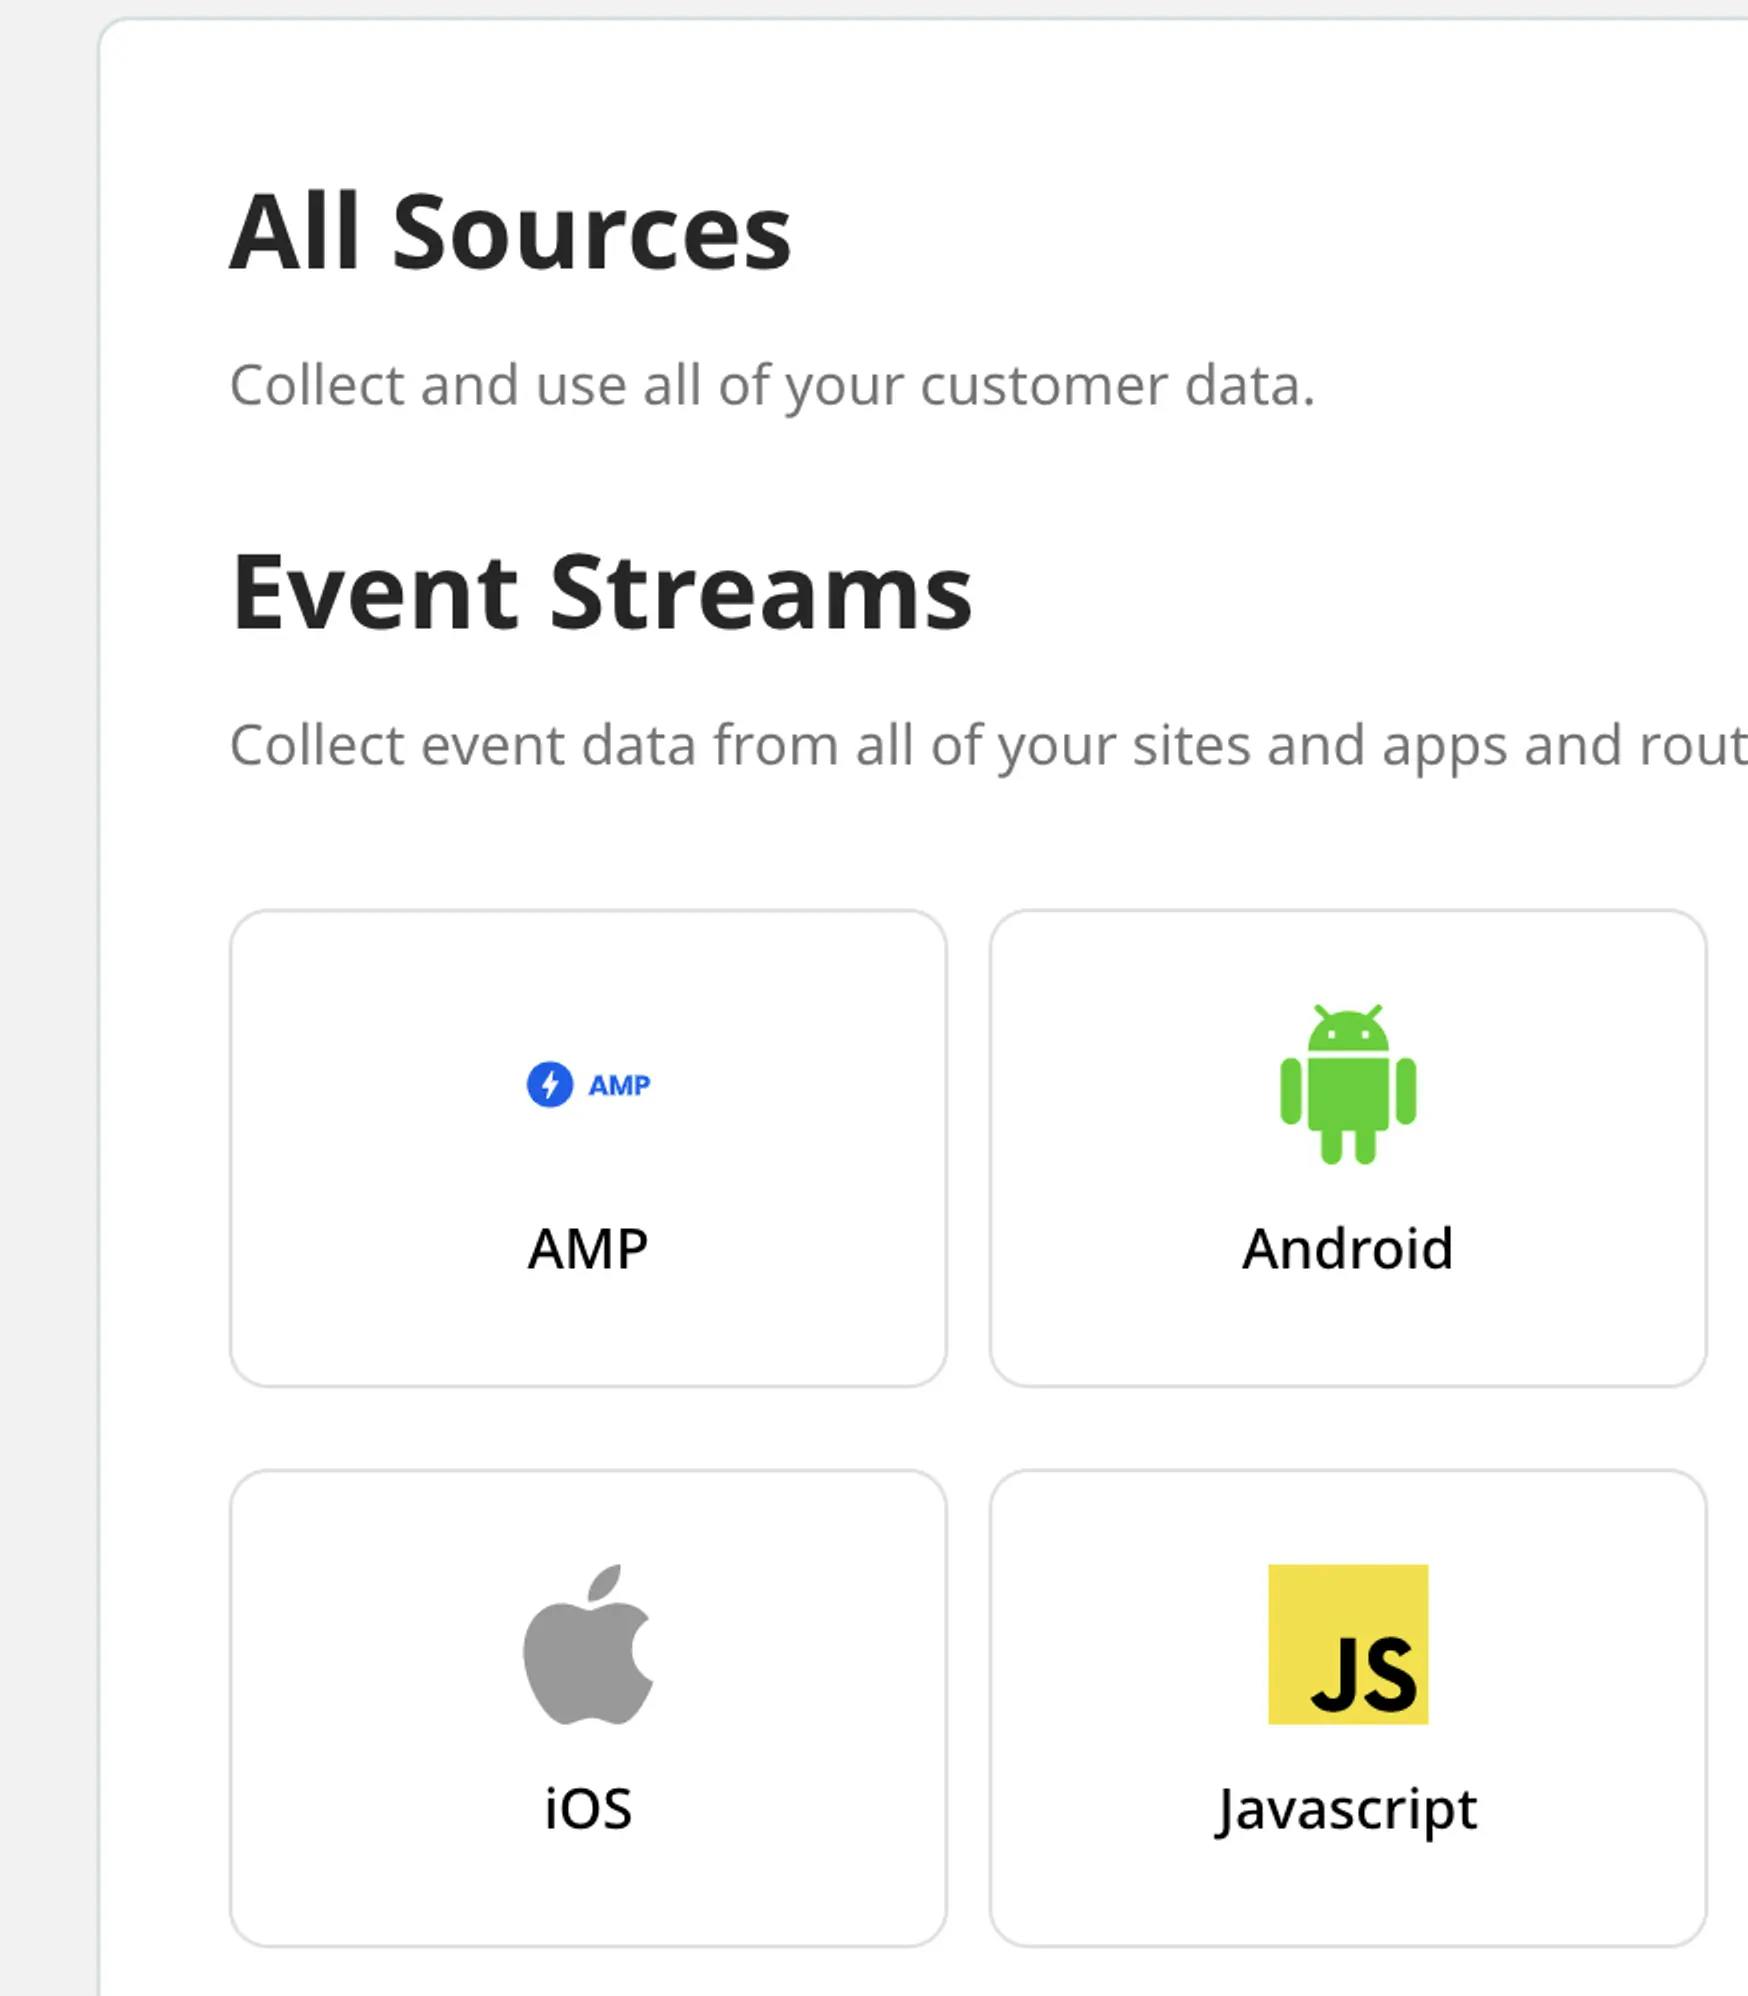
3. Set up a Javascript source. Within the RudderStack application, click Connections, and create a new Javascript Source.
For more information and to copy the code used later in the project, check out RudderStack Documentation - Setting Up a Javascript SDK Source.
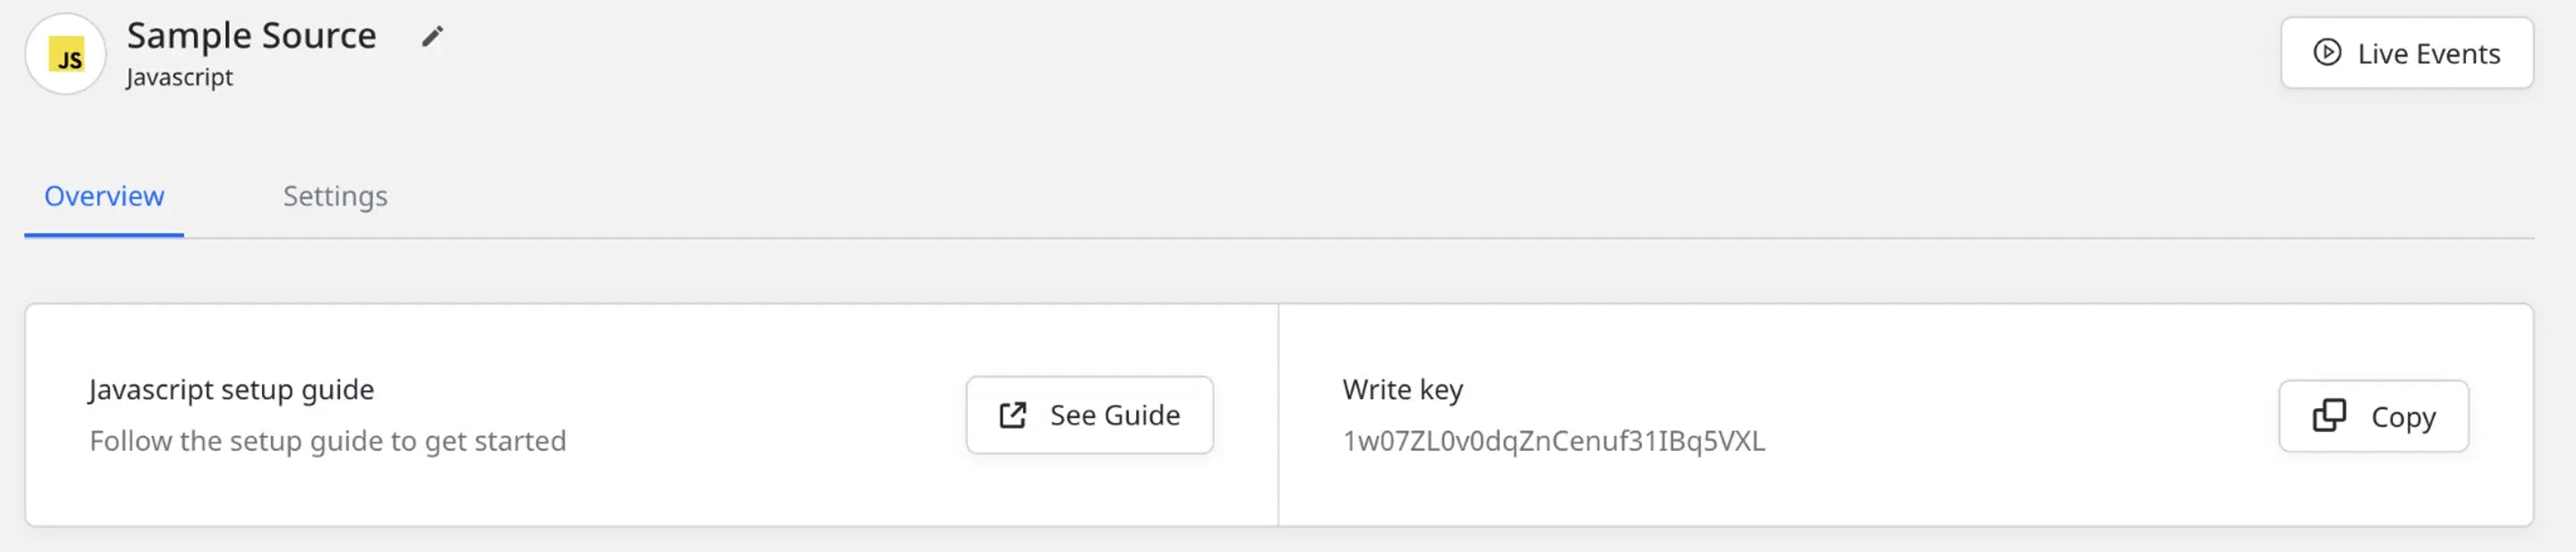
When you create the source, be sure to note the Write Key for your source. You will need this later to add the SDK code snippet to your HTML form page.
NOTE: You do not have to set up a destination before you can start sending events.
4. Set up a Customer.io destination. Within the Account Settings menu, click on API Credentials. You will need the Site ID and API Key from Customer.io to plug into RudderStack.

Site ID: 7d312d5623a06b61de02 (YOURS WILL BE DIFFERENT)
API Key: be8b07024aa0ac8573d6 (YOURS WILL BE DIFFERENT)
For this setup, we only need to enter the Site ID and the API Key from Customer.io. Because we are not using an EU Data Center, we will leave that value toggled off.
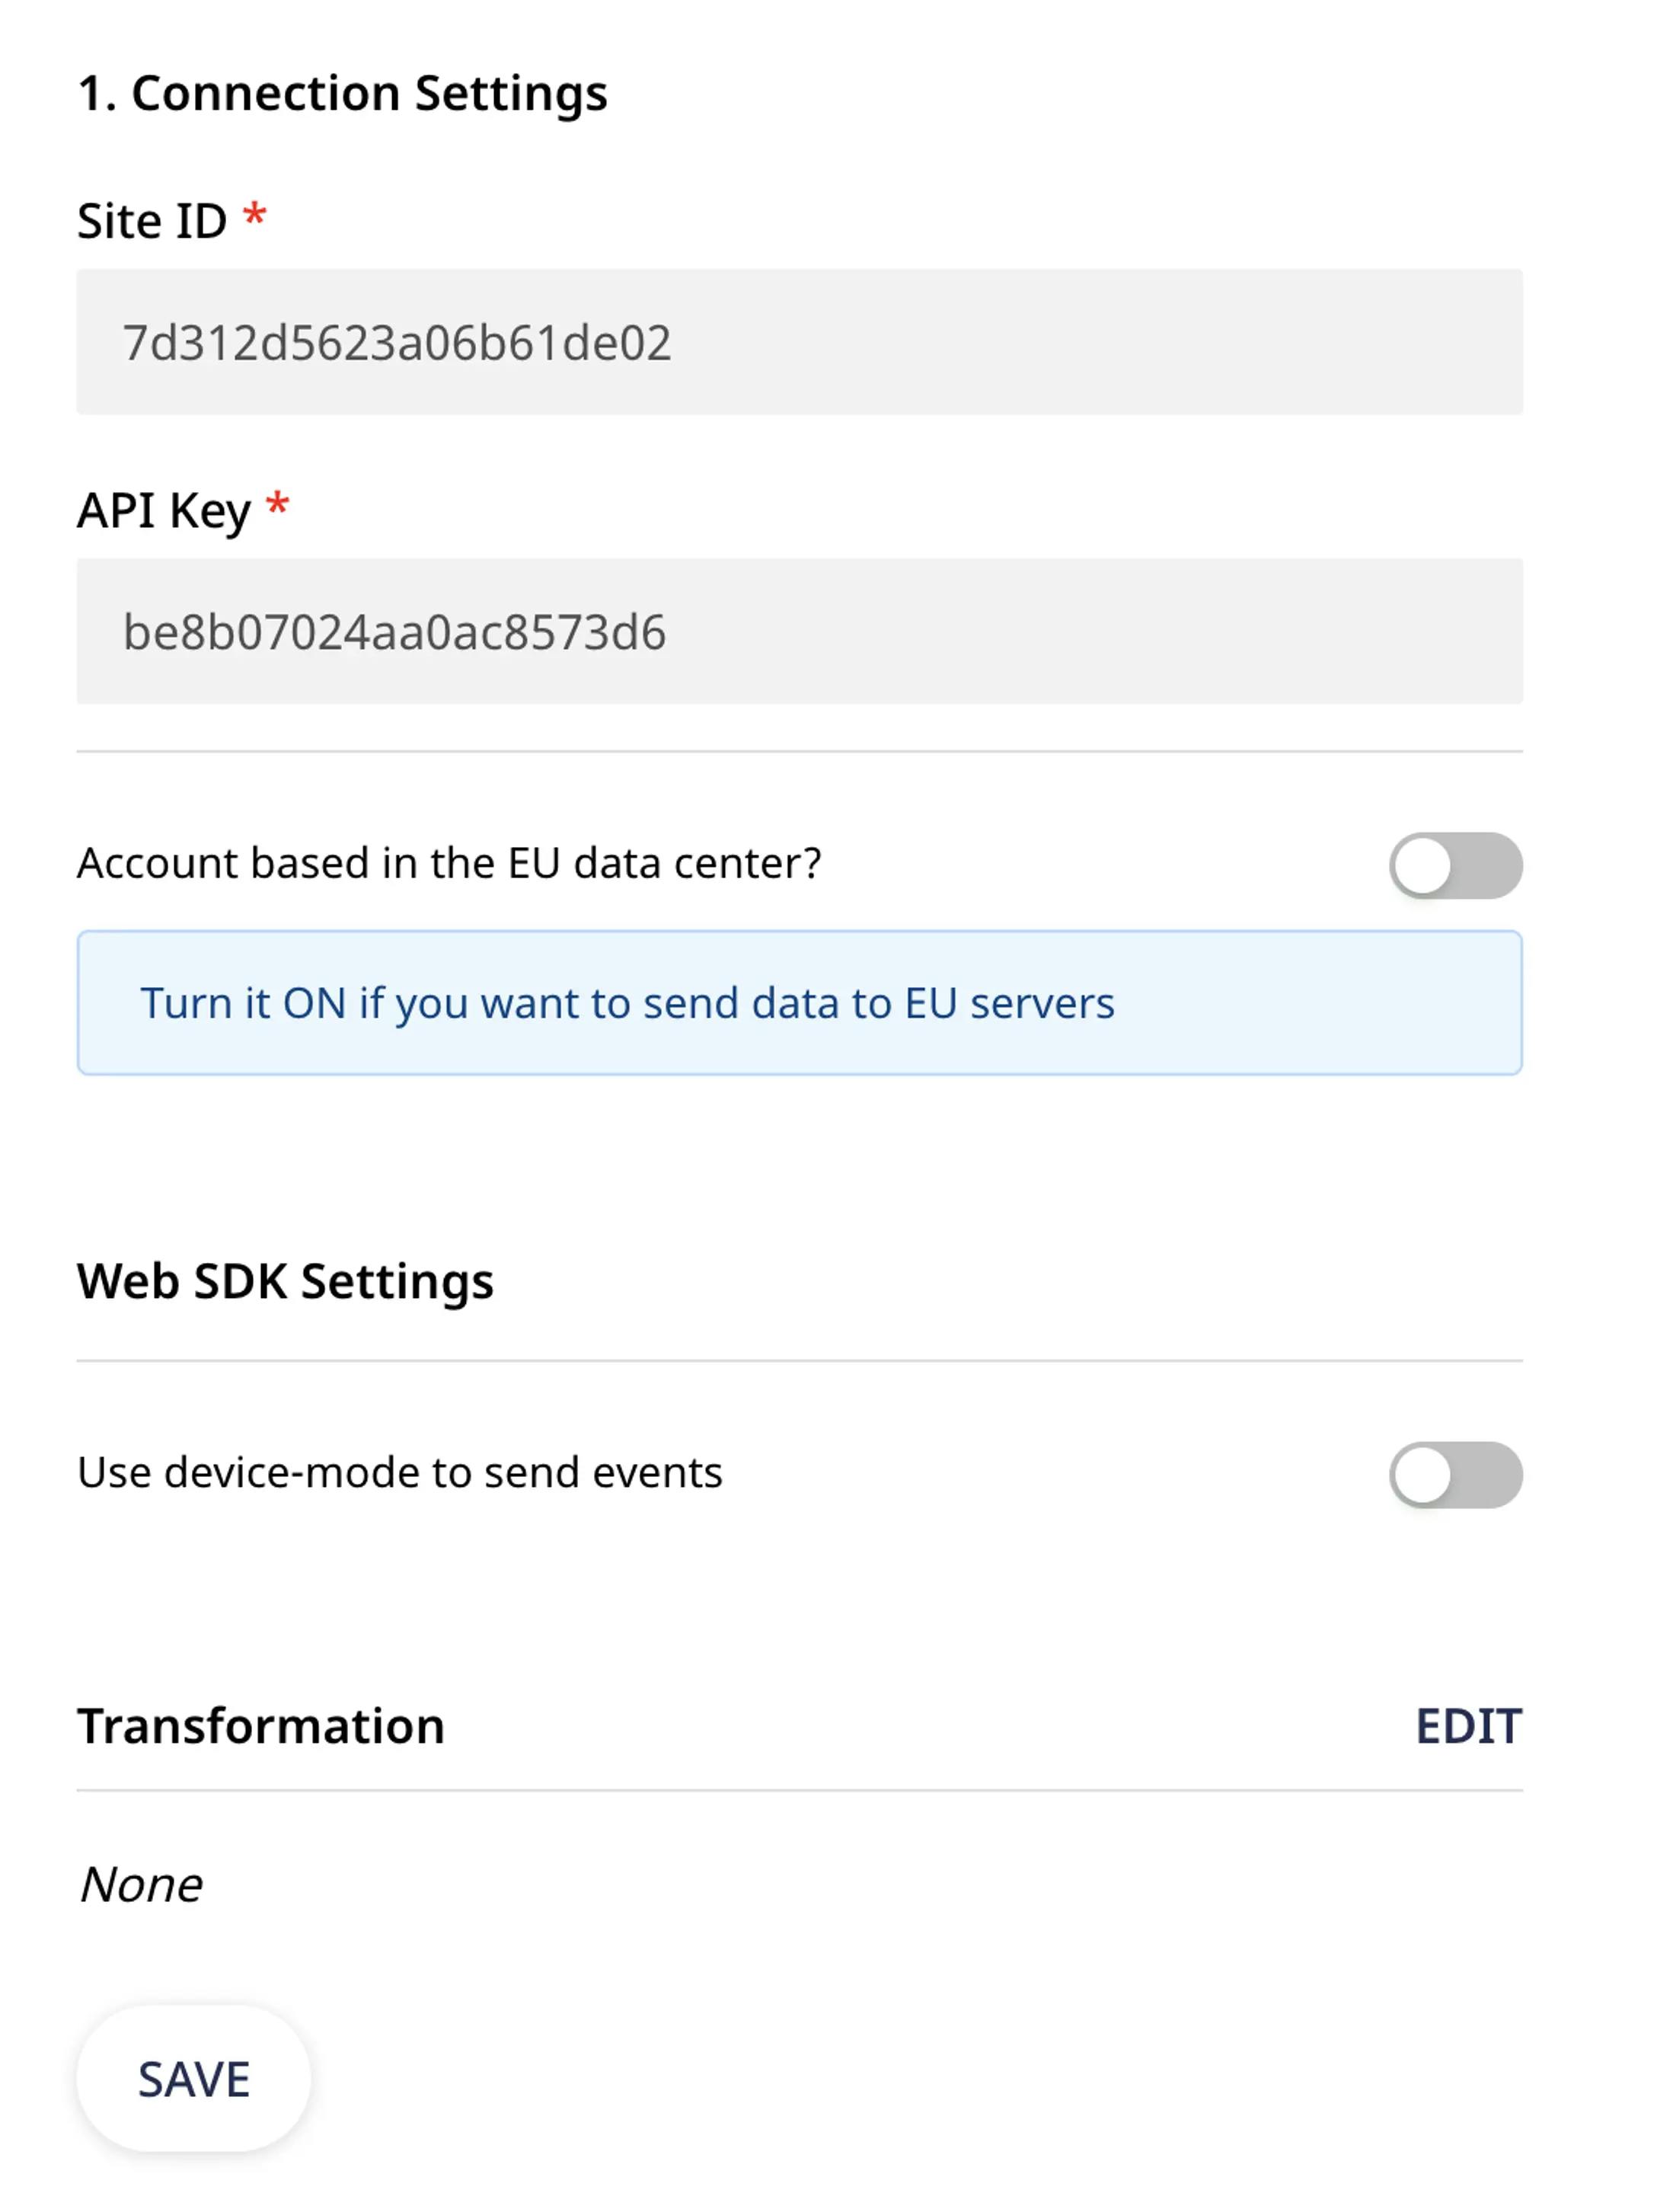
Customer.io destinations support data from both cloud mode and device mode. Since we are submitting this data from our sample web form, we will use the default cloud mode option.
For more information on the difference between cloud mode and device mode, please check out our documentation RudderStack Connection Modes: Cloud Mode vs. Device Mode
Once the connection is created within RudderStack, you will need to add the Javascript SDK snippet to your webform and update your event listener, and you’ll be off to the races.
5. Copy the code at the bottom of this post to create an index.html and script.js file. Then upload them to your git repository.

6. Modify the HTML to send an Identify call to your RudderStack. This involves making three updates to the code:
Add the (1) Dataplane URL and the (2) Source Write Key, both of which can be found within the RudderStack Dashboard.
Dataplane Address: https://walvoordbxzie.dataplane.rudderstack.com/
Write Key: 1w07ZL0v0dqZnCenuf31IBq5VXL
Note: The original write key and dataplane line was commented out.
JAVASCRIPT
Add the (3) Rudder Analytics event to your event listener found in the script.js file
JAVASCRIPT
Note: We added an additional user trait to our identify call. Go Gunners!
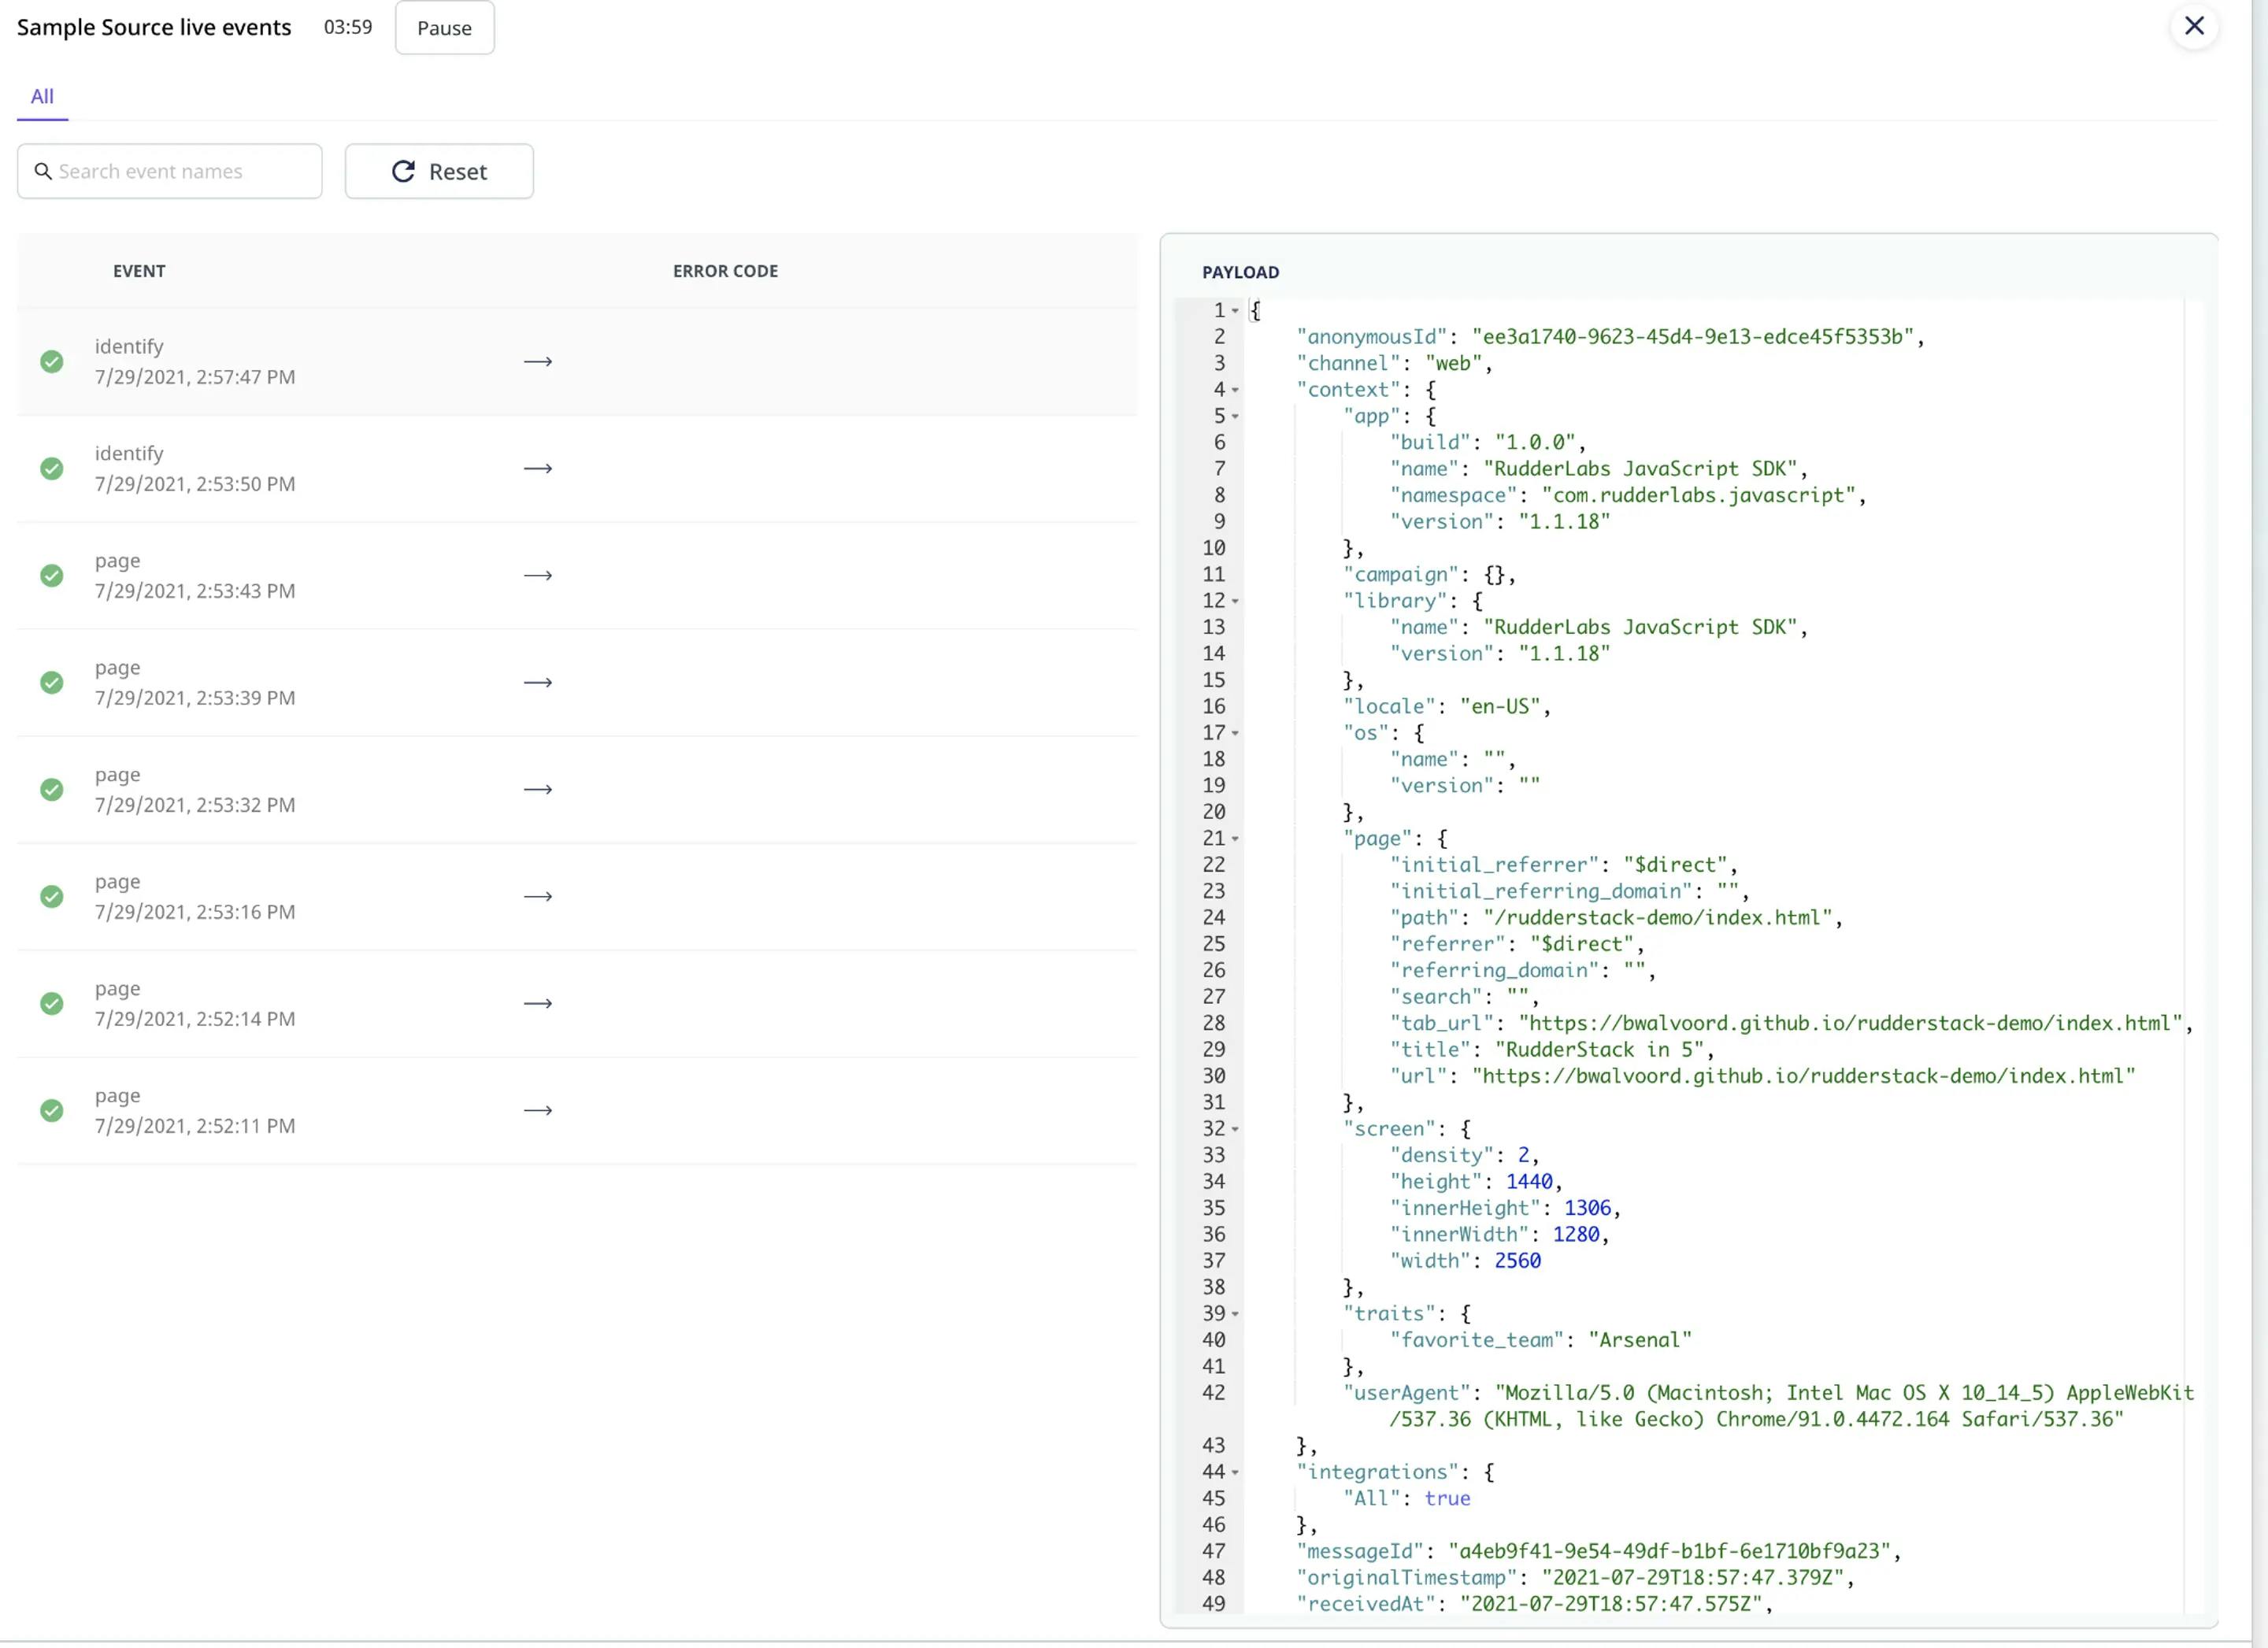
7. After saving and committing your changes, you can open the form and test it out, but before you hit submit, open the RudderStack Application in another browser to access the live event viewer. Open the Javascript Source and click the play Live Events button.

The link to your form should look something like this: https://bwalvoord.github.io/rudderstack-demo/index.html
8. Watch the event viewer after we hit the button. You can select any event to view the JSON packet:
9. Head on into your Customer.io instance and view the lead that came through:

Congratulations, you are now streaming data in your own instance of RudderStack. Next up I would encourage you to add a Warehouse destination to your existing connection. You may also want to try creating a user transformation to exclude emails that contain “_test” in the email address.
If you have questions or would like to learn more about RudderStack, request a demo, or join us on slack to chat live with our team and other RudderStack users.
Referenced Files
Sample form - index.html
HTML
Event Handler - script.js
JAVASCRIPT
Recent Posts
Addressing Segments limitations: from data storage to data strategy
By Mackenzie Hastings
Feature launch: Append and table skipping for warehouse FinOps
By Badri Veeraragavan, John Wessel
Building the Data Foundation for AI
By Soumyadeb Mitra
Get the newsletter
Subscribe to get our latest insights and product updates delivered to your inbox once a month