Set up a Reverse ETL pipeline and sync your warehouse data to downstream destinations in no time.
6 minute read
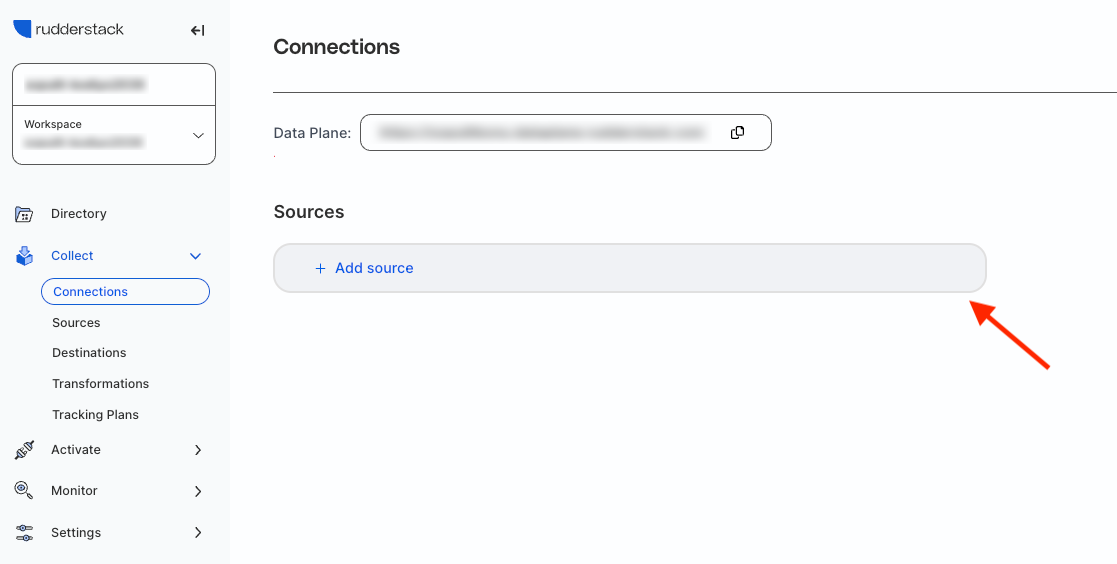
The easiest way to set up a Reverse ETL pipeline is to configure your warehouse source, connect it to a downstream destination, and specify the data mappings and sync settings.
RudderStack requires some warehouse-specific permissions to sync data from it. These permissions are listed in the source documentation, for example, see BigQuery permissions.
Make sure to grant these permissions before you set up the source.
Step 2: Connect destination
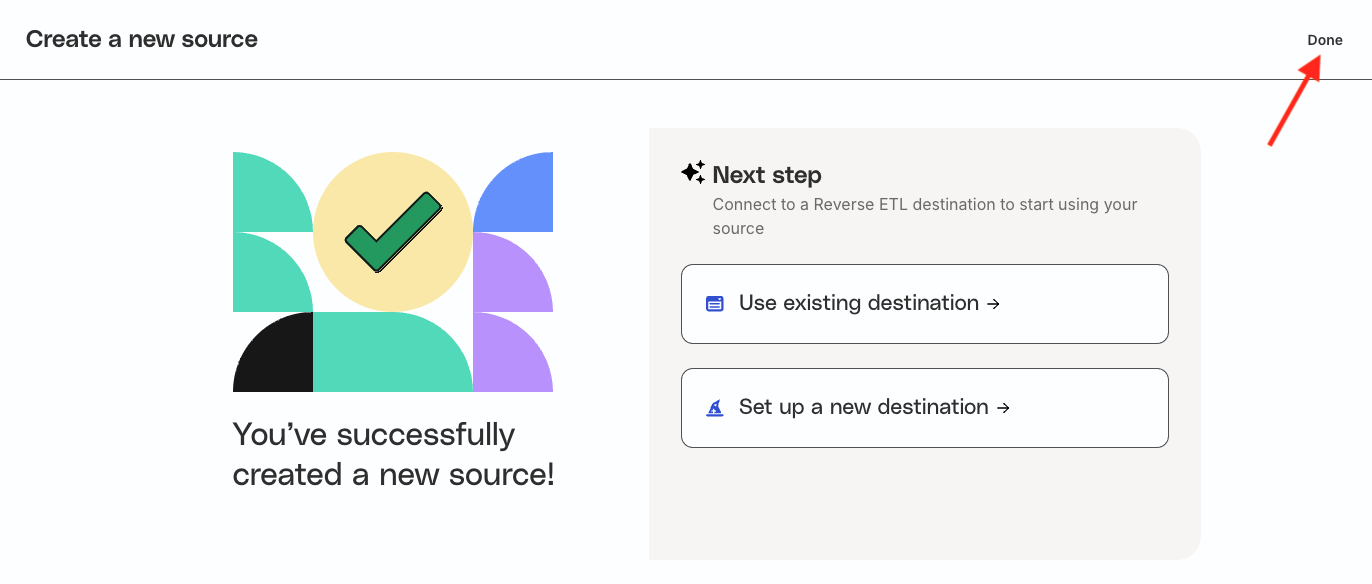
Once you have set up the Reverse ETL source, the next step is to connect it to a downstream destination.
You can connect the Reverse ETL source to an existing or new destination to start using it. To connect to a destination later, click Done on the top right.
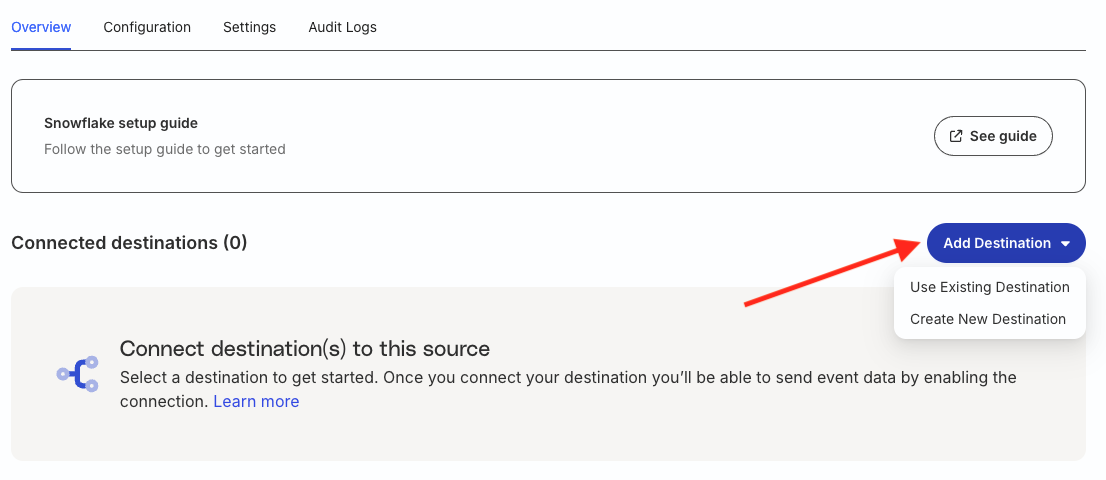
You will then be redirected to the Overview page of the source where you get the option of connecting it to an existing or new destination.
Other destinations that do not support Visual Data Mapper have the Map with JSON option by default, with the Map with Visualizer option greyed out.
The steps to set the data mappings (using JSON) are listed below:
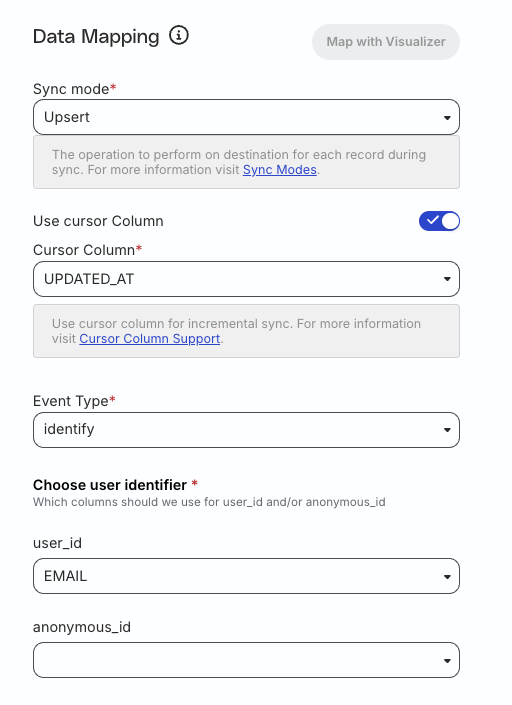
Select the Sync mode to specify how RudderStack syncs each record to the destination. RudderStack supports two sync modes:
Sync mode
Description
Upsert
In this mode, RudderStack inserts new records and updates the existing records in the destination while syncing the data.
Mirror
In this mode, RudderStack ‘mirrors’ the source by keeping the destination data the same as the source data. It performs insertion, deletion, and updates to the records while syncing the data.
RudderStack does not support track event type for this mode.
If you have set the sync mode to Upsert, you can also use the Use cursor column setting for managing incremental syncs. See Cursor Column Support guide for more information on this setting.
Select the Event Type - RudderStack supports sending the synced data to your downstream destinations as identify or track events.
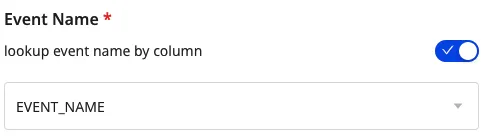
If you select track as the Event Type, you also need to set the event name that is sent to the downstream destination. This is because every track event requires a name.
You can also set the column name as the event name by turning on the Lookup event name by column toggle and selecting the column from the dropdown:
Set at least one user identifier from user_id or anonymous_id in the Choose user identifier setting.
Preview the resulting data and make the necessary changes before proceeding.
Step 4: Schedule syncs
RudderStack determines how and when to run a sync based on the sync schedule you set for your Reverse ETL connection.
Schedule type
Description
Basic
Run syncs at a given time interval and specified time (in UTC).
CRON
Run syncs based on a specified CRON expression (in UTC).
Manual
Run syncs manually.
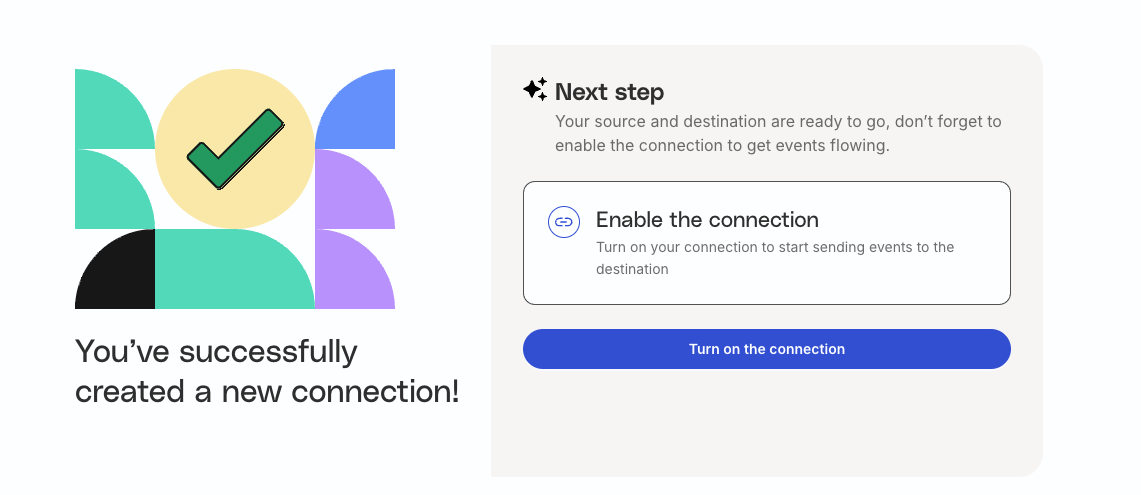
Step 5: Activate connection
Once your source and destination are set up, activate the connection by clicking Turn on the connection.
Once you activate the connection, RudderStack automatically triggers the syncs as per the sync schedule.
When you sync data from the source for the first time, RudderStack performs a full sync by default, irrespective of the sync mode you specified while setting the mappings. It then incrementally syncs any new data since the last sync.
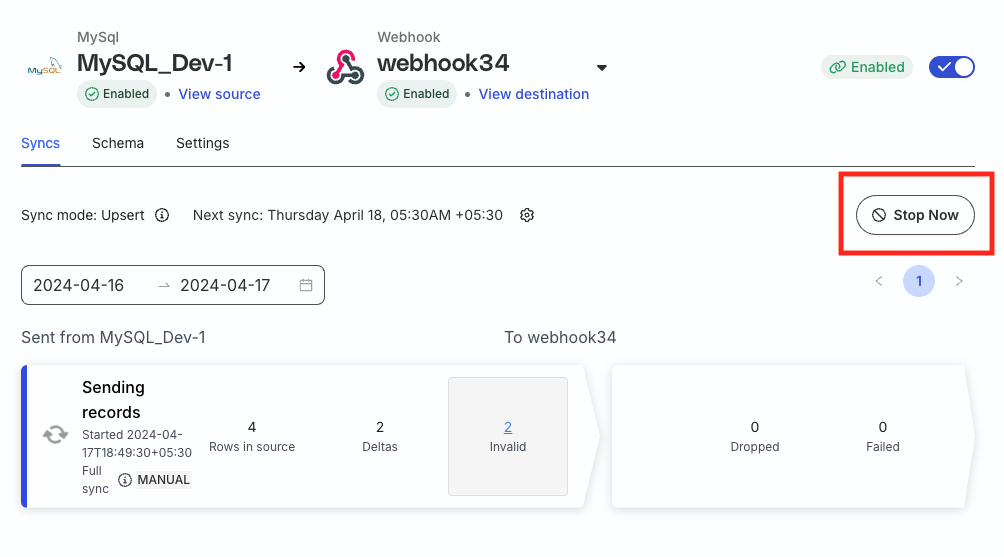
Trigger syncs
Go to the Syncs tab of your Reverse ETL source and click the Sync Now button to trigger a new sync. To force a full data sync, choose the Reset History and Full Sync option.
To stop a running sync, click the Stop Now button.
Note the following before stopping a sync:
Once you stop a sync, any data that RudderStack reads from the warehouse and is on the fly may not be stopped or dropped from being delivered to the destination. It will only stop reading and sending any new data from the warehouse to the destination and stop the sync from progressing.
For a very low number of deltas (new data since the last attempted sync), you may sometimes see a “0 deltas succeeded” after you stop the sync.
Once you cancel a sync, the behavior of the next sync depends on the type of the previously cancelled sync. For example, if a cancelled sync is an incremental sync, then the next sync will be incremental too. Similarly, if the cancelled is a full sync, then the next sync will be a full sync.
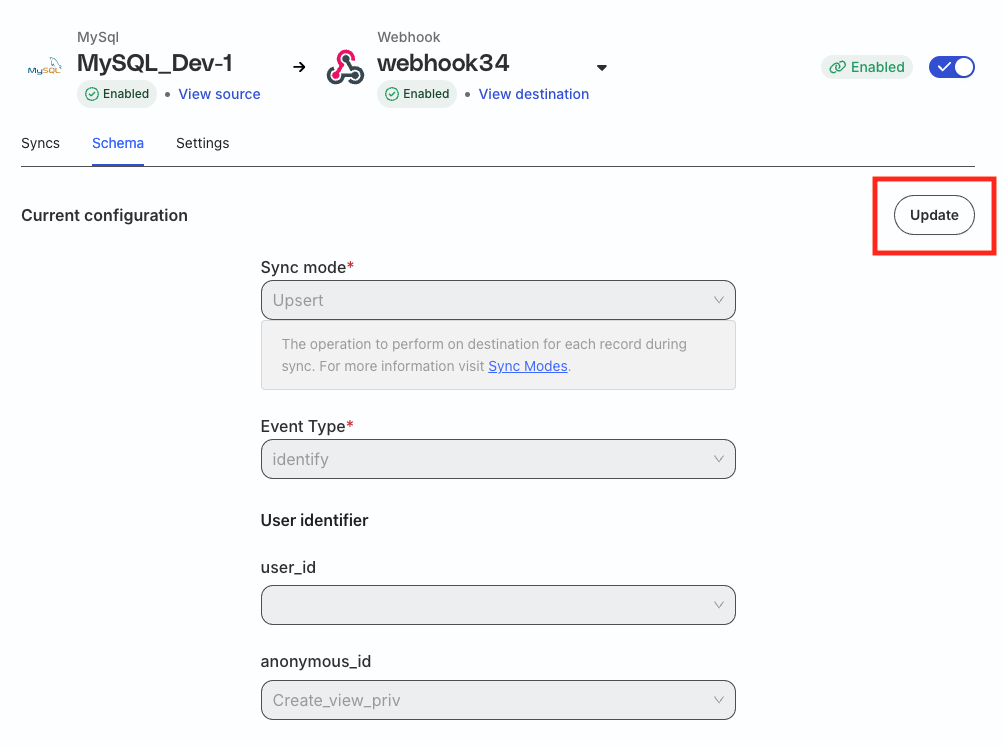
Update your mappings
In cases where your warehouse schema has changed, RudderStack lets you update the mappings to ensure the data is synced to the destination correctly.
Go to the Schema tab of your connection page and click Update to update your mappings. Make sure to save the updated mappings.
You cannot update the mappings while a sync is in progress.
Sync data from SQL models
RudderStack’s Models feature lets you create models by defining custom SQL queries. You can then run these queries on your warehouse and send the resulting data to specific destinations.
Follow these steps to set up a Reverse ETL pipeline using a model:
RudderStack’s Audiences feature lets you create customer lists or a subset of users satisfying specific criteria with easy-to-use filters on your warehouse tables. Once created, you can connect and activate them in your downstream destinations.
Follow these steps to set up a Reverse ETL pipeline using an audience:
This site uses cookies to improve your experience while you navigate through the website. Out of
these
cookies, the cookies that are categorized as necessary are stored on your browser as they are as
essential
for the working of basic functionalities of the website. We also use third-party cookies that
help
us
analyze and understand how you use this website. These cookies will be stored in your browser
only
with
your
consent. You also have the option to opt-out of these cookies. But opting out of some of these
cookies
may
have an effect on your browsing experience.
Necessary
Always Enabled
Necessary cookies are absolutely essential for the website to function properly. This
category only includes cookies that ensures basic functionalities and security
features of the website. These cookies do not store any personal information.
This site uses cookies to improve your experience. If you want to
learn more about cookies and why we use them, visit our cookie
policy. We'll assume you're ok with this, but you can opt-out if you wish Cookie Settings.