Sync data from RudderStack to Databricks Delta Lake.
16 minute read
Delta Lake is a popular data lake used for both streaming and batch operations. It lets you store structured, unstructured, and semi-structured data securely and reliably.
Find the open source code for this destination in the GitHub repository.
Configuring Delta Lake destination in RudderStack
Before configuring Delta Lake as a destination in RudderStack, it is highly recommended to go through the following sections to obtain the necessary configuration settings. These sections also contain the steps to grant RudderStack and Databricks the necessary permissions to your preferred storage bucket.
To send event data to Delta Lake, you first need to add it as a destination in RudderStack and connect it to your data source. Once the destination is enabled, events will automatically start flowing to Delta Lake via RudderStack.
To configure Delta Lake as a destination in RudderStack, follow these steps:
In your RudderStack dashboard, set up the data source. Then, select Databricks Delta Lake from the list of destinations.
Assign a name to your destination and then click Next.
Connection settings
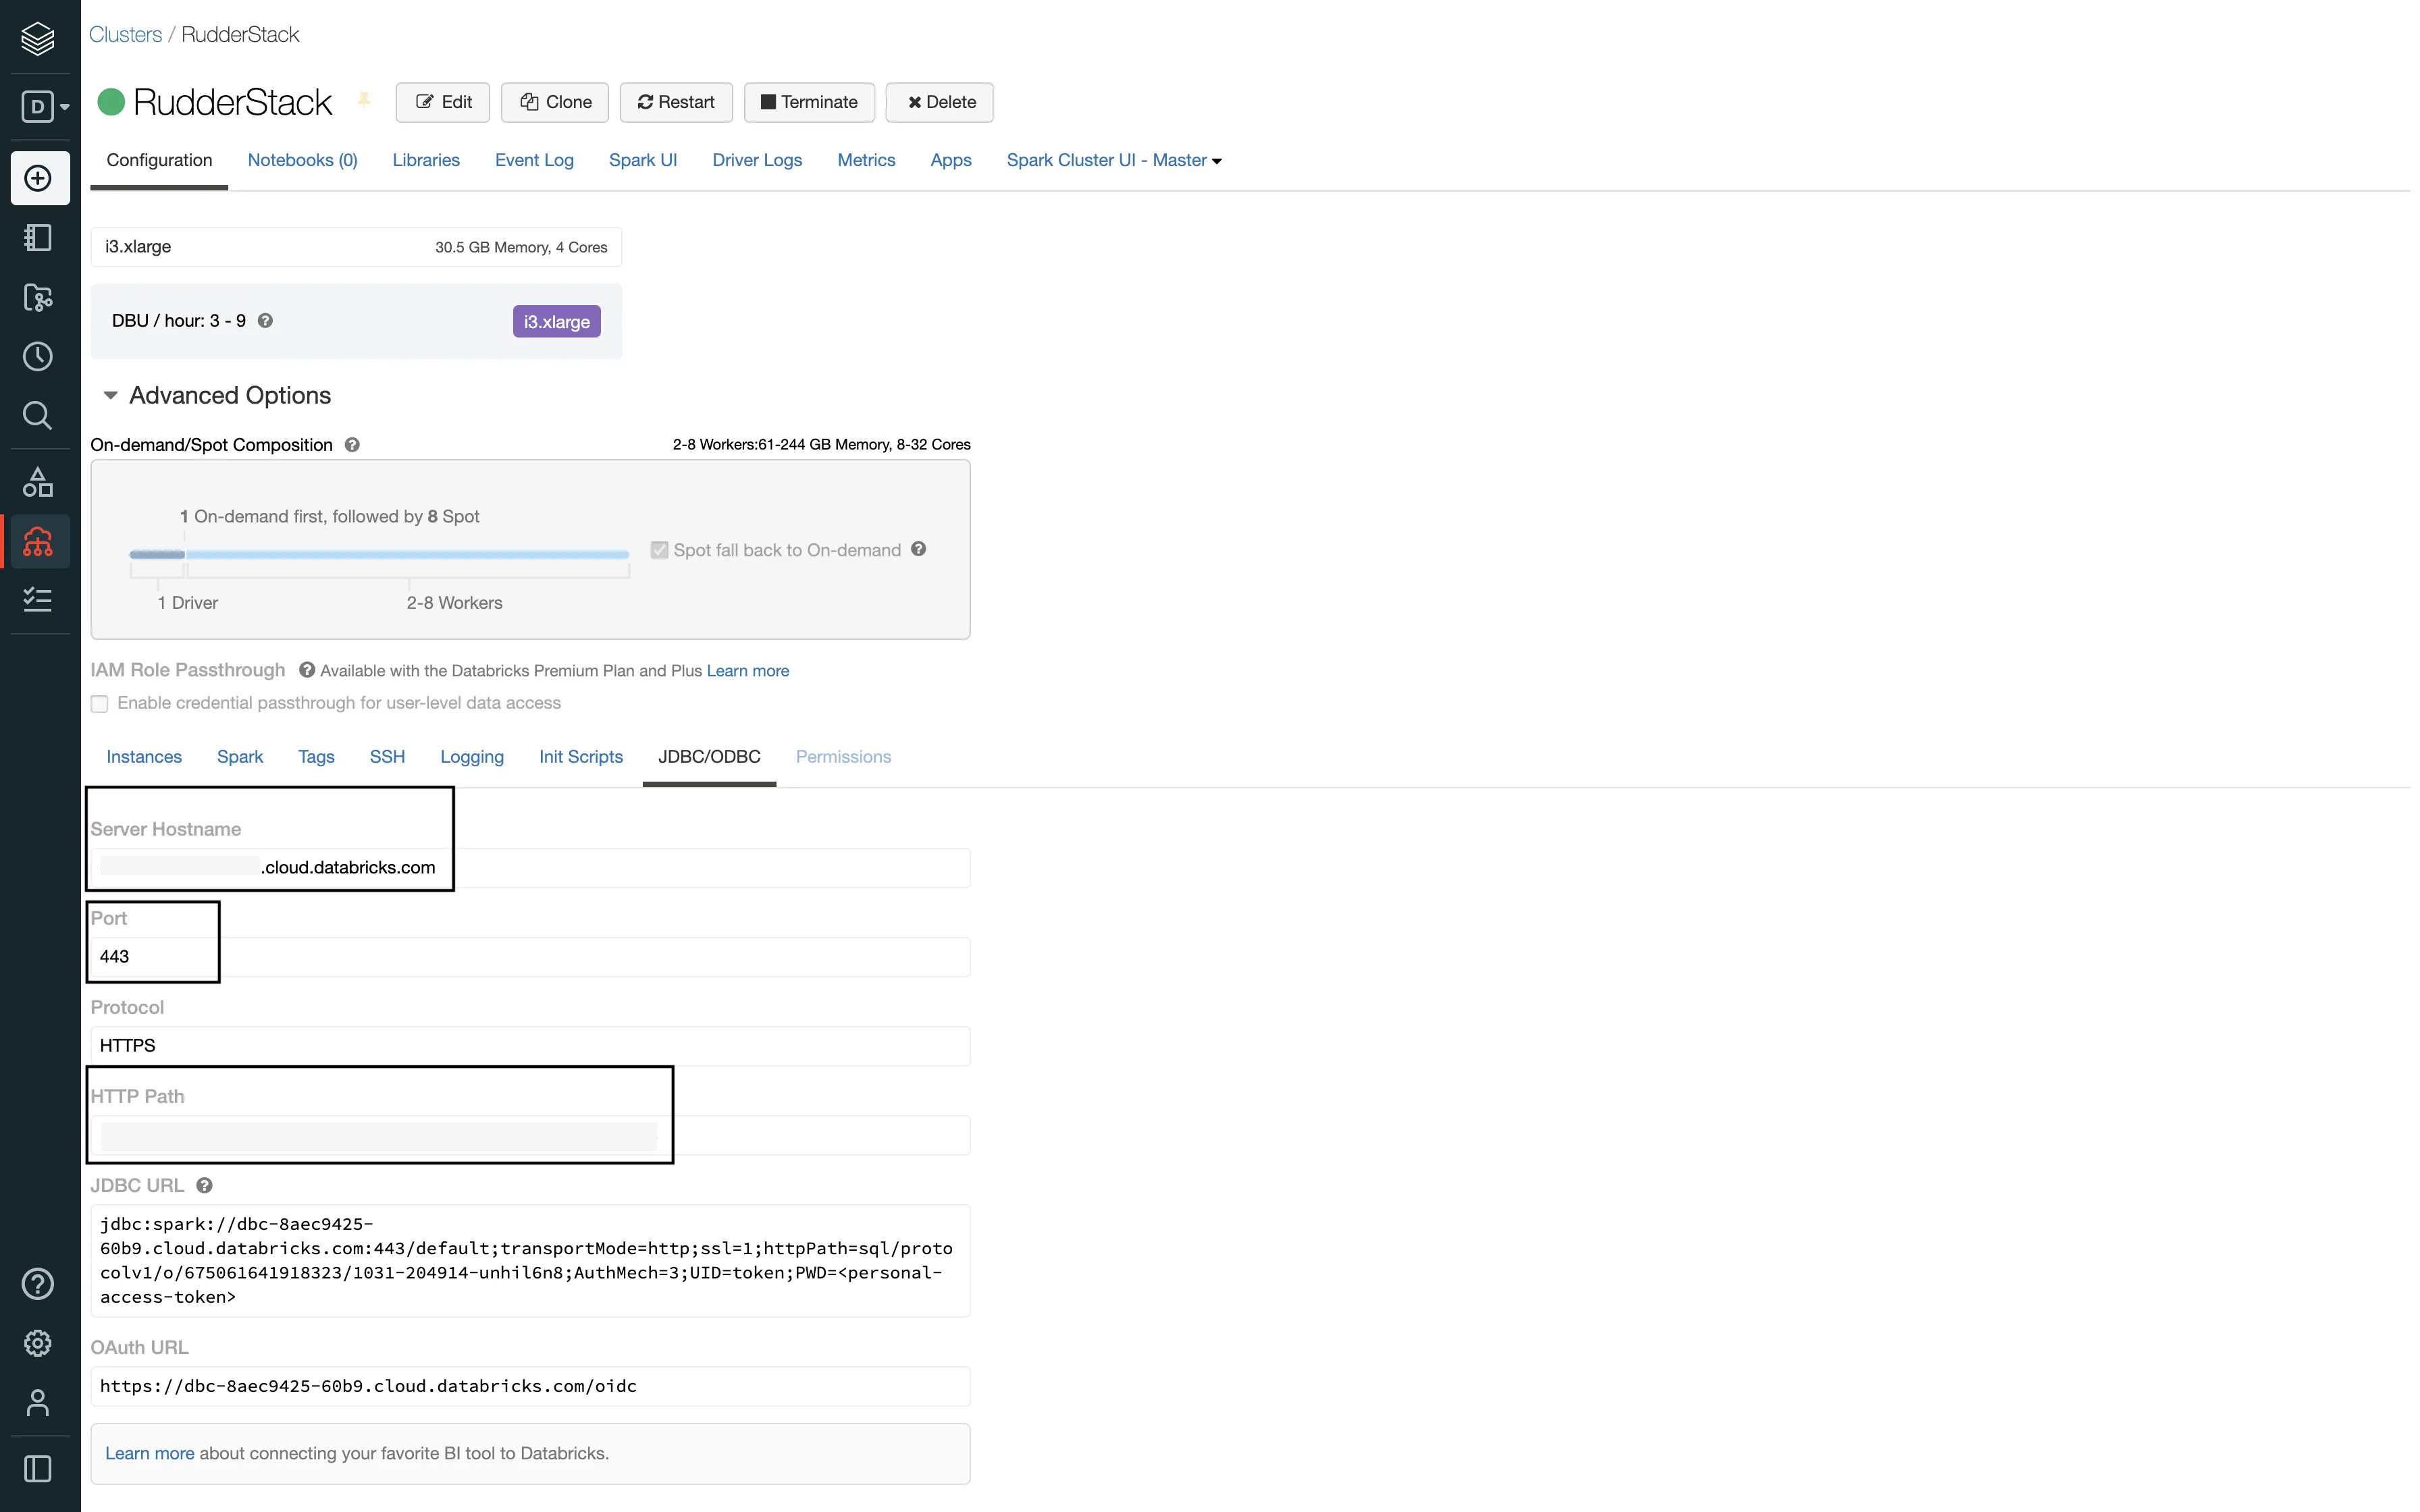
Host: Enter your server hostname from the Databricks dashboard.
Use M2M OAuth: Toggle on this setting to use OAuth M2M for authorizing access to Databricks resources. Then, provide the following credentials:
Client ID: The client ID for the service principal.
Client Secret: The corresponding client secret.
See the Databricks documentation for detailed steps on obtaining the Client ID and Client Secret fields.
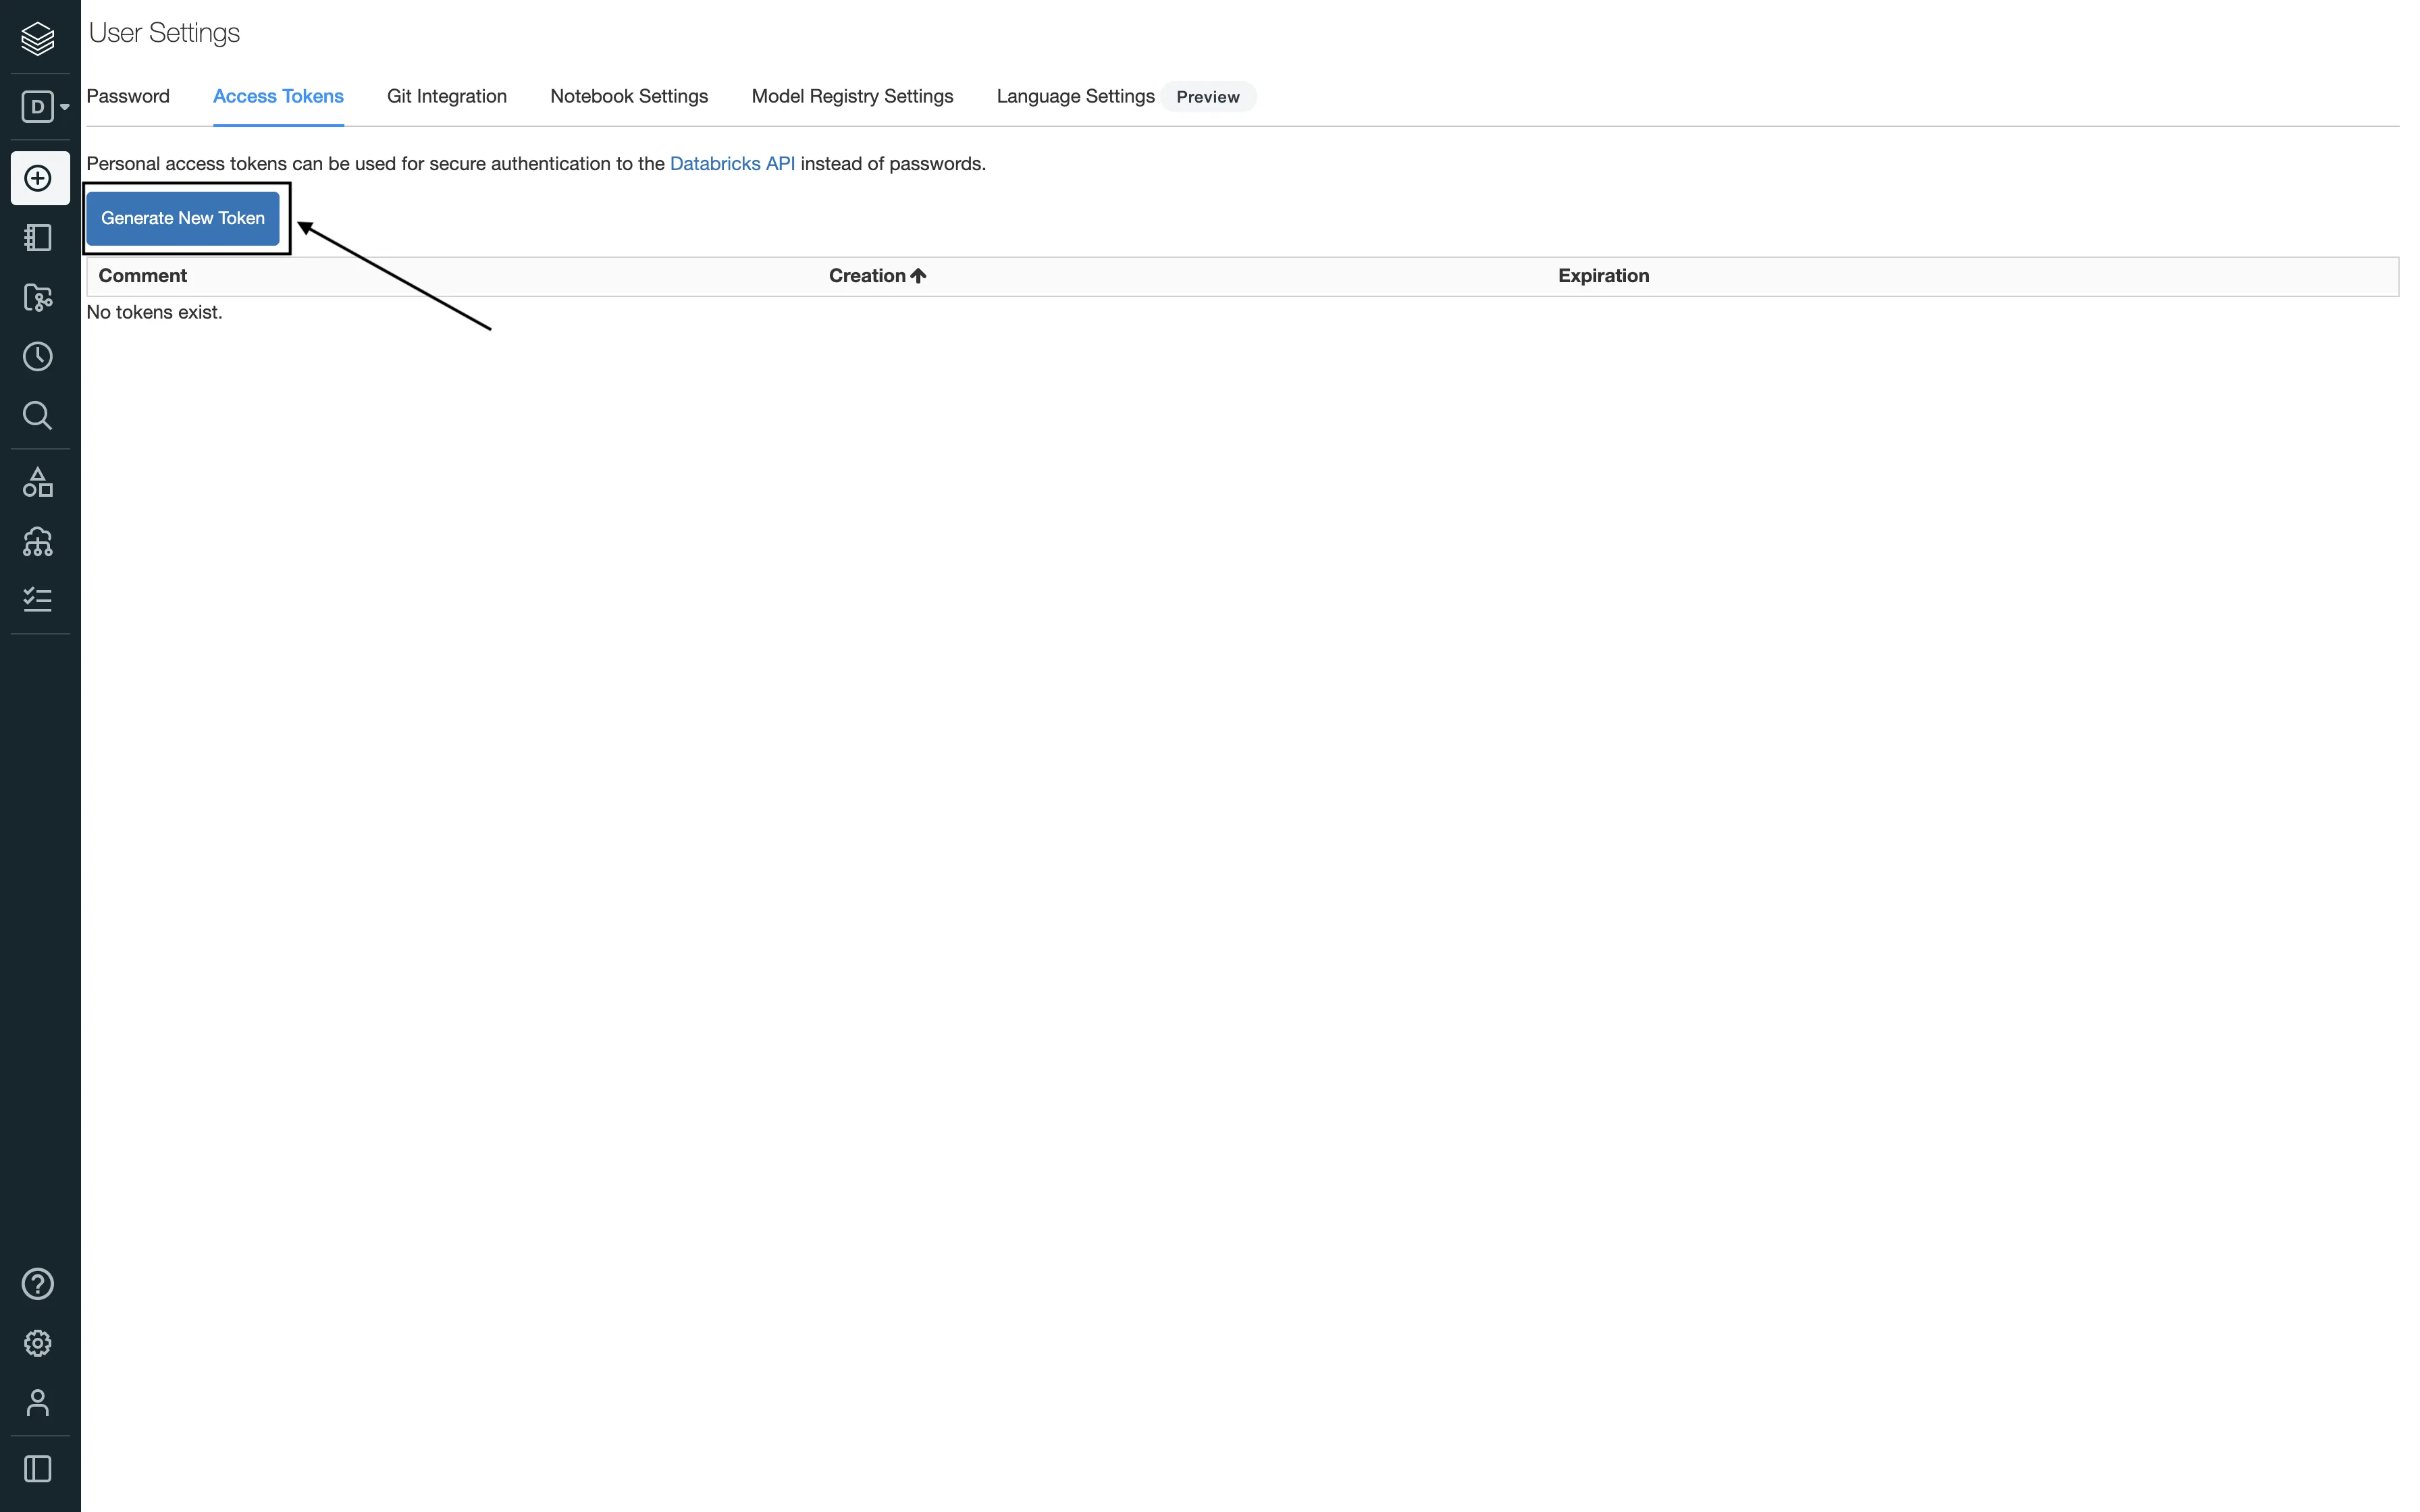
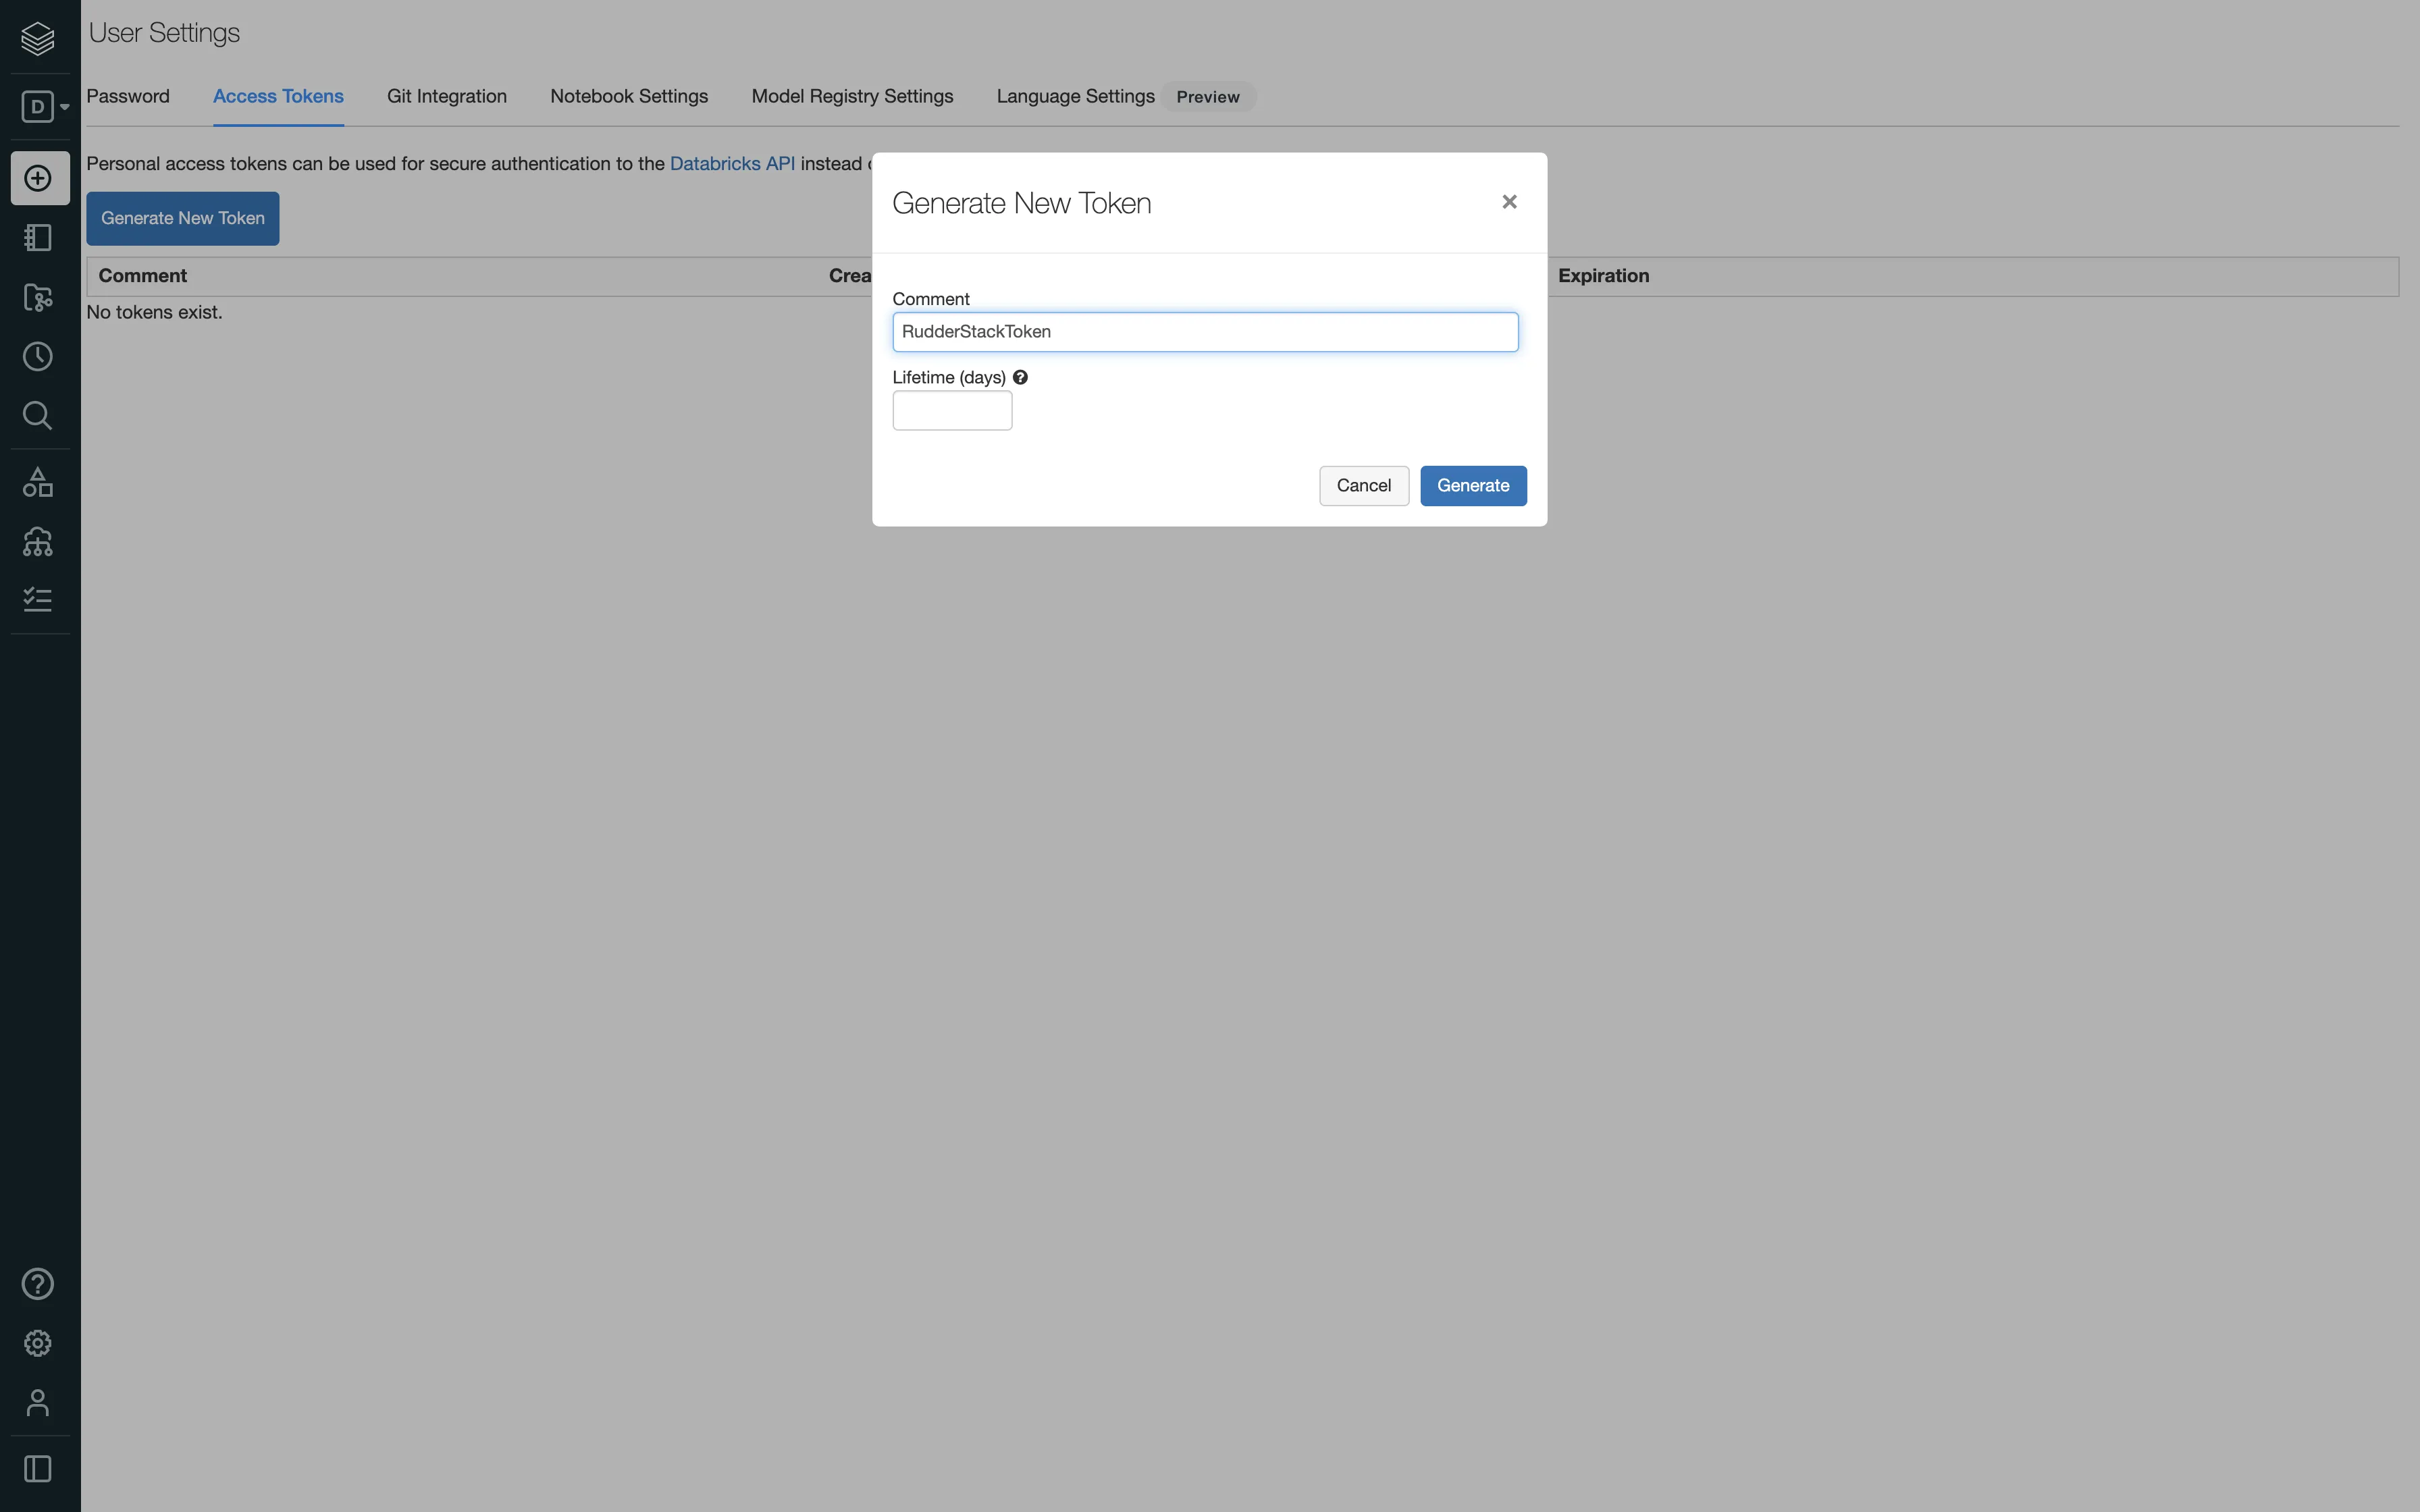
Personal Access Token: You will see this field only if the Use M2M OAuth setting is toggled off. Use it to enter your Databricks access token. See Generating the Databricks access token for more information on generating the access token.
Databricks strongly recommends using OAuth over Personal Access Tokens for authorization.
OAuth tokens are automatically refreshed by default and do not require you to directly manage the access token, thereby improving your security against token hijacking and unauthorized access.
Enable delta tables creation in an external location: Enable this setting to specify the external location to create the delta tables. You can specify the external location in the External delta table location setting. When disabled, RudderStack creates the delta tables at a default storage location for the non-external Apache Hive tables.
If you have not configured a Unity catalog, you can access the delta tables at {path_to_table}/{schema}/{table}.
If you have configured a Unity catalog, follow these steps:
Create an external location by following this Databricks documentation. Your location will look something like s3://{bucket_path}/{external_location}.
Specify the absolute location in the External delta table location setting. It will look something like s3://{bucket_path}/{external_location}/{path_to_table}/{schema}/{table}.
Catalog: If you have configured a Unity catalog, enter the catalog name where your data assets are organized. For more information on creating a Unity Catalog, refer to the Databricks documentation.
If you do not specify the catalog name, RudderStack uses the default catalog configured for your workspace.
Namespace: Enter the the name of the schema where RudderStack will create the tables. If you don’t specify a namespace in the dashboard settings, RudderStack will set it to the source name, by default.
Sync Frequency: Specify how often RudderStack should sync the data to your Delta Lake instance.
Sync Starting At: This optional setting lets you specify the particular time of the day (in UTC) when you want RudderStack to sync the data to the Delta Lake instance.
Exclude Window: This optional setting lets you specify the time window (in UTC) when RudderStack will skip the data sync.
Object Storage Configuration: Use this setting to specify your object storage.
Use RudderStack managed object storage: Enable this setting to use RudderStack-managed buckets for object storage. Note that this option is applicable only for RudderStack-hosted data planes. For self-hosted data planes, you need to specify your own object storage configuration settings.
Choose your storage provider: If Use RudderStack managed object storage is disabled, you can select any one of the following platforms for storing your staging files:
If you select S3 as your storage provider, RudderStack provides the option to specify your IAM role ARN or the AWS access key ID/secret access key by enabling the Use STS Tokens to copy staging files setting. For more information, refer to the Amazon S3 storage bucket settings section below.
Clean up object storage files after successful sync: Turn on this toggle to delete the object storage files after the sync has completed successfully.
Advanced settings
Warehouse Append: This setting is turned on by default - RudderStack appends your incoming Event Stream data to the existing data in your warehouse. Turning it off causes RudderStack to merge your incoming data into your warehouse to ensure 100% non-duplicate data.
The append operation helps to achieve faster data syncs while reducing warehouse costs. However, note that it may increase the number of duplicates in the warehouse, especially if the existing data is older than 7 days. A common scenario where duplication might occur is when the SDKs retry sending events in case of failures.
A merge strategy ensures deduplication but can lead to longer sync times and increased warehouse costs.
Skip User Table: This setting is toggled on by default and sends events exclusively to the identifies table while skipping the users table. This eliminates the need for a merge operation on the users table. If toggled off, RudderStack sends the events to both the identifies and users tables.
Skip Tracks Table: Toggle on this setting to skip sending events to the tracks table.
Granting RudderStack access to your storage bucket
This section contains the steps to edit your bucket policy to grant RudderStack the necessary permissions, depending on your preferred cloud platform.
Amazon S3
Follow these steps to grant RudderStack access to your S3 bucket based on the following two cases:
Case 1: Use STS Token to copy staging files is disabled in the dashboard
Follow the steps listed in this section if the Use STS Token to copy staging files option is disabled, that is, you don’t want to specify the AWS credentials while configuring your Delta Lake destination.
For RudderStack Cloud
If you are using RudderStack Cloud, edit your bucket policy using the following JSON:
Make sure you replace USER_ARN with the ARN copied in the previous step. Also, replace ACCOUNT_ID with your AWS account ID and YOUR_BUCKET_NAME with the name of your S3 bucket.
Finally, add the programmatic access credentials to the env file present in your RudderStack installation:
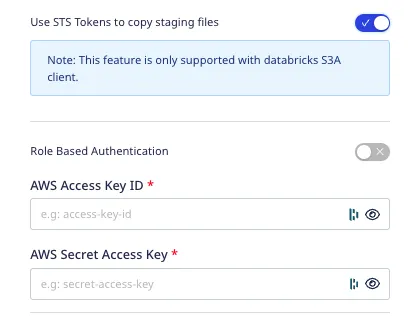
Case 2: Use STS Token to copy staging files is enabled in the dashboard
In this case, provide the configuration directly while setting up the Delta Lake destination in RudderStack:
Role-based Authentication: Enable this setting to use the RudderStack IAM role for authentication. For more information on creating an AWS IAM role for RudderStack, refer to this guide.
IAM Role ARN: Enter the ARN of the IAM role.
It is highly recommended to enable this setting as the access keys-based authentication method is now deprecated.
If Role-based Authentication is disabled, you need to enter the AWS Access Key ID and AWS Secret Access Key to authorize RudderStack to write to your S3 bucket.
In both the role-based and access key-based authentication methods, you need to set a policy specifying the required permissions for RudderStack to write to your intermediary S3 bucket. Refer to the S3 permissions for warehouse destinations section for more information.
Google Cloud Storage
You can provide the necessary GCS bucket configuration while setting up the Delta Lake destination in RudderStack. For more information, refer to the Google Cloud Storage bucket settings.
Azure Blob Storage
You can provide the necessary Blob Storage container configuration while setting up the Delta Lake destination in RudderStack. For more information, refer to the Azure Blob Storage settings.
Granting Databricks access to your staging bucket
This section contains the steps to grant Databricks the necessary permissions to access your staging bucket, depending on your preferred cloud platform.
Amazon S3
Follow these steps to grant Databricks access to your S3 bucket depending on your case:
Case 1: Use STS Token to copy staging files is disabled in the dashboard
Follow the steps listed in this section if the Use STS Token to copy staging files option is disabled, i.e. you don’t want to specify the AWS access key and secret access key while configuring your Delta Lake destination.
In this case, you will be required to configure your AWS account to create an instance profile which will then be attached with your Databricks cluster.
Case 2: Use STS Token to copy staging files is enabled in the dashboard
Follow the steps listed in this section if the Use STS Token to copy staging files option is enabled, i.e. you are specifying the AWS access key and secret access key in the dashboard while configuring your Delta Lake destination.
Add the following Spark configuration to your Databricks cluster:
For more information on adding custom Spark configuration properties in a Databricks cluster, refer to Spark configuration guide.
Finally, replace the following fields with the values obtained from the downloaded JSON in the previous step: <project_id>,<private_key>, <private_key_id>,<client_email>.
Azure Blob Storage
To grant Databricks access to your Azure Blob Storage container, follow these steps:
Add the following Spark configuration to your Databricks cluster.
This section contains the troubleshooting tips for various issues that you might encounter while setting up or using the Delta Lake destination.
Credential validation
You get the below error in the Verifying Load Table stage:
load test table: loading test table: databricks: execution error: failed to execute query:
unexpected operation state
ERROR_STATE: shaded.databricks.org.apache.hadoop.fs.azure.AzureException:
Unable to access container rsprofiles in account dcianalytics.blob.core.windows.net
using anonymous credentials, and no credentials found for them in the configuration.
You get the below error in the Verifying Load Table stage:
load test table: loading test table: databricks: execution error: failed to execute query:
unexpected operation state
ERROR_STATE: [CAST_INVALID_INPUT]
The value '_c0' of the type "STRING" cannot be cast to "BIGINT" because it is malformed.
Correct the value as per the syntax, or change its target type.
Use 'try_cast' to tolerated the malformed input and return NULL instead.
Solution:
If using a cluster, remove the spark.sql.ansi.enabled Spark configuration.
If using a SQL warehouse, remove the ANSI_MODE Spark configuration from SQL Configuration Parameters or set it to false.
How does RudderStack handle deduplication in Databricks?
RudderStack takes the staging table and runs MERGE queries against the target Databricks tables to ensure no duplicate data is sent.
What are the reserved keys for Delta Lake?
Refer to this documentation for a complete list of the reserved keywords.
Does the Databricks cluster attached to the destination need to be up all time?
No, your Databricks cluster attached to the destination need not be up all time.
What happens if the cluster or the destination service is down? Is there a possibility of data loss?
If a warehouse destination is down or unavailable, RudderStack will continue to retry sending events (on an exponential backoff basis, for up to 3 hours).
RudderStack stores the syncs as staging files and retries sending them at a later time when the cluster is up again. This allows for a successful delivery without any missing data.
After retrying for up to 3 hours, RudderStack marks the syncs as aborted. Once the service is up and running again, you can go to the Syncs tab in the RudderStack dashboard and retry sending the data.
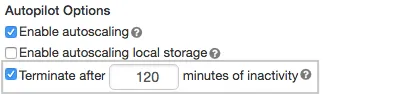
Does RudderStack automatically spin the Databricks cluster/SQL endpoint every time it needs to write?
No, RudderStack does not spin the Databricks cluster or the SQL endpoint on its own every time it needs to write to the cluster.
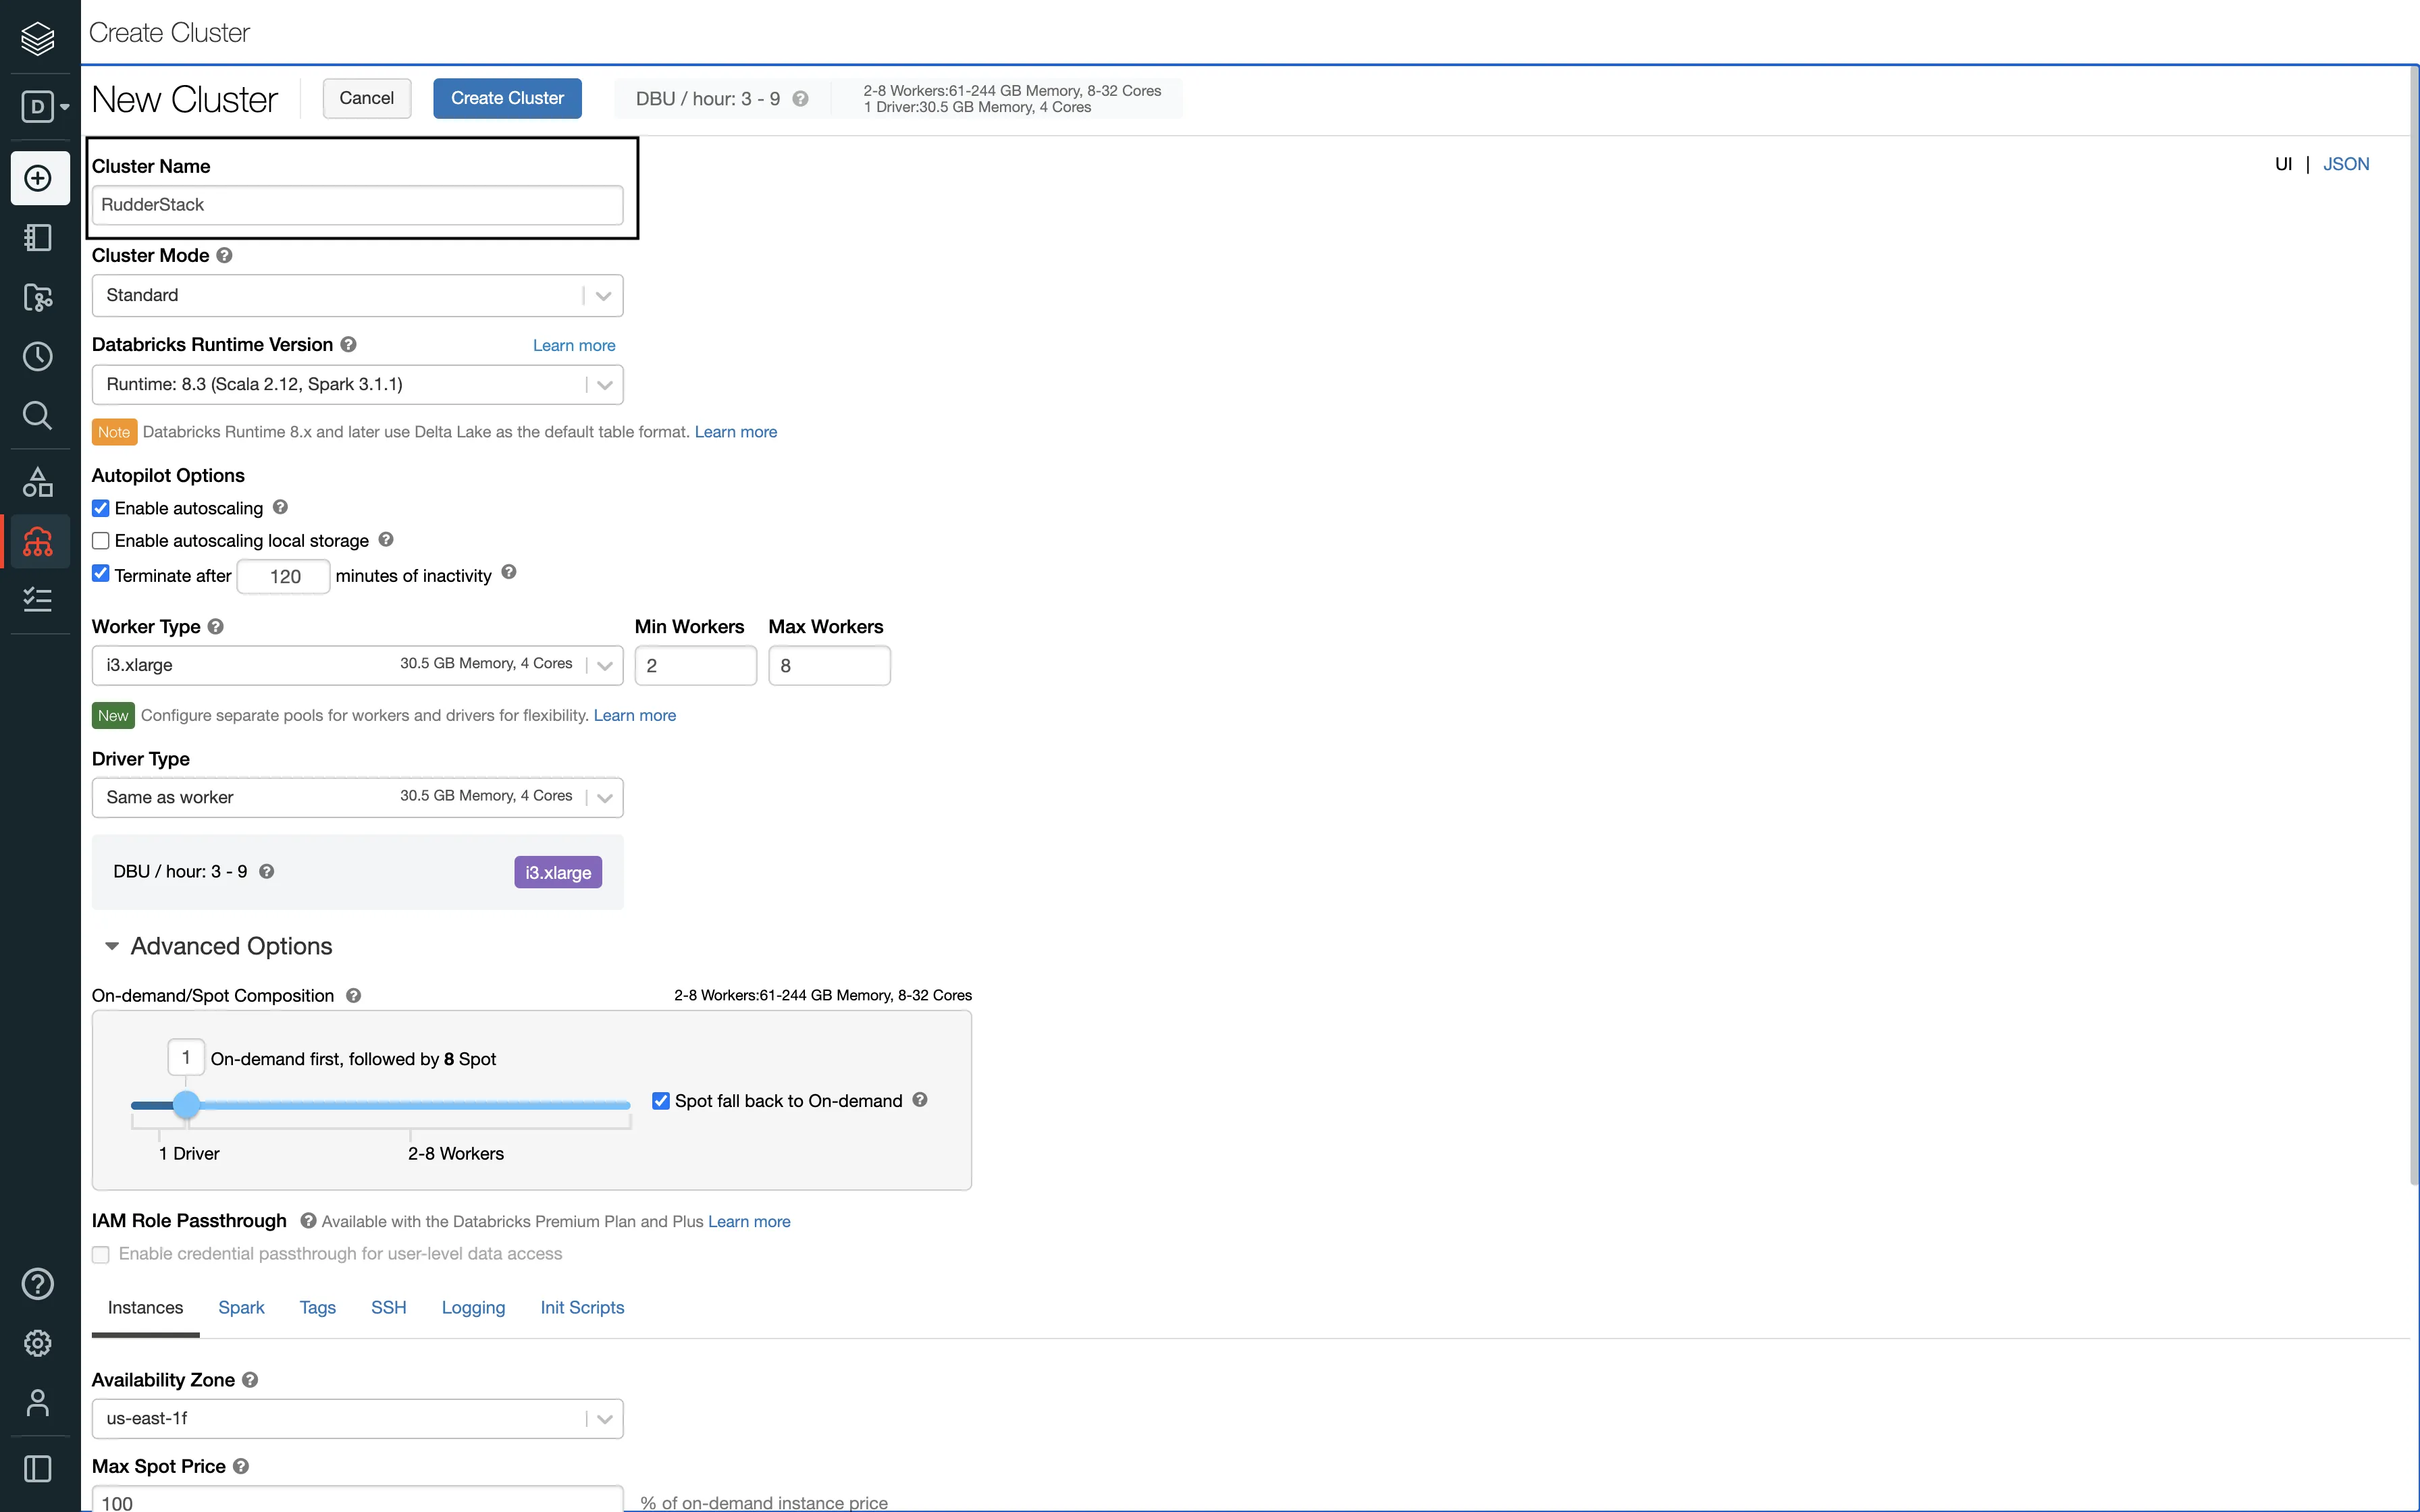
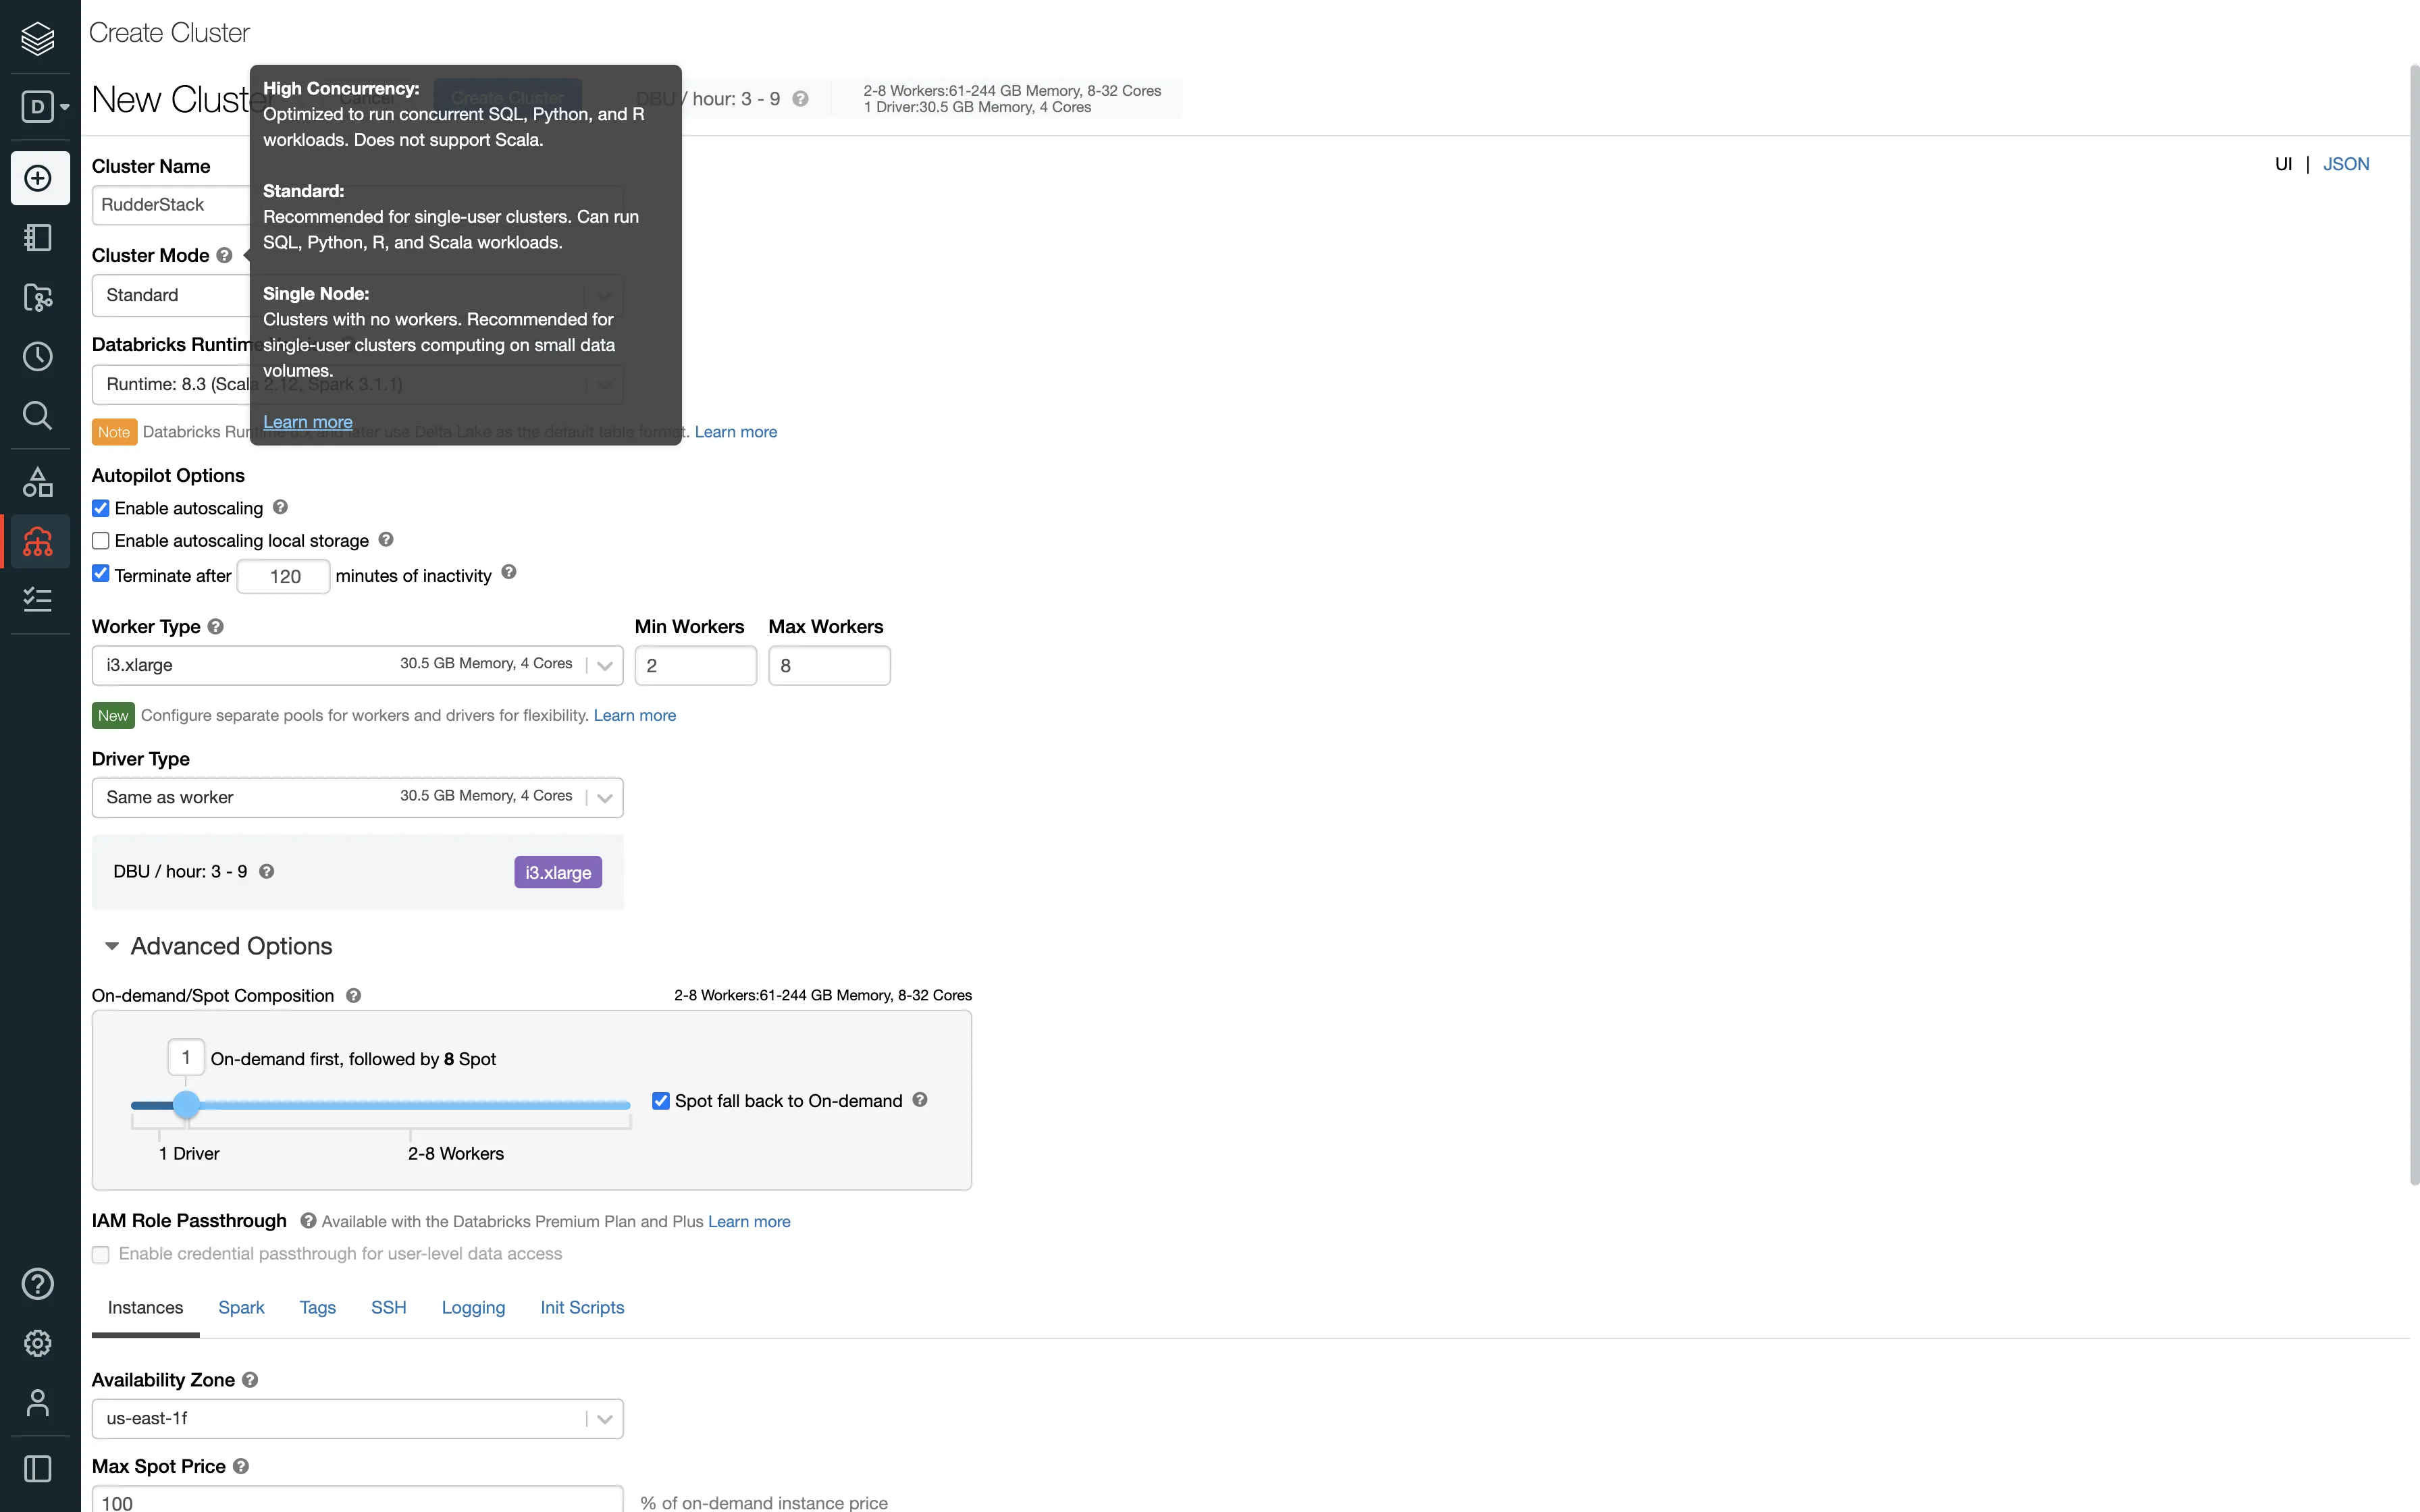
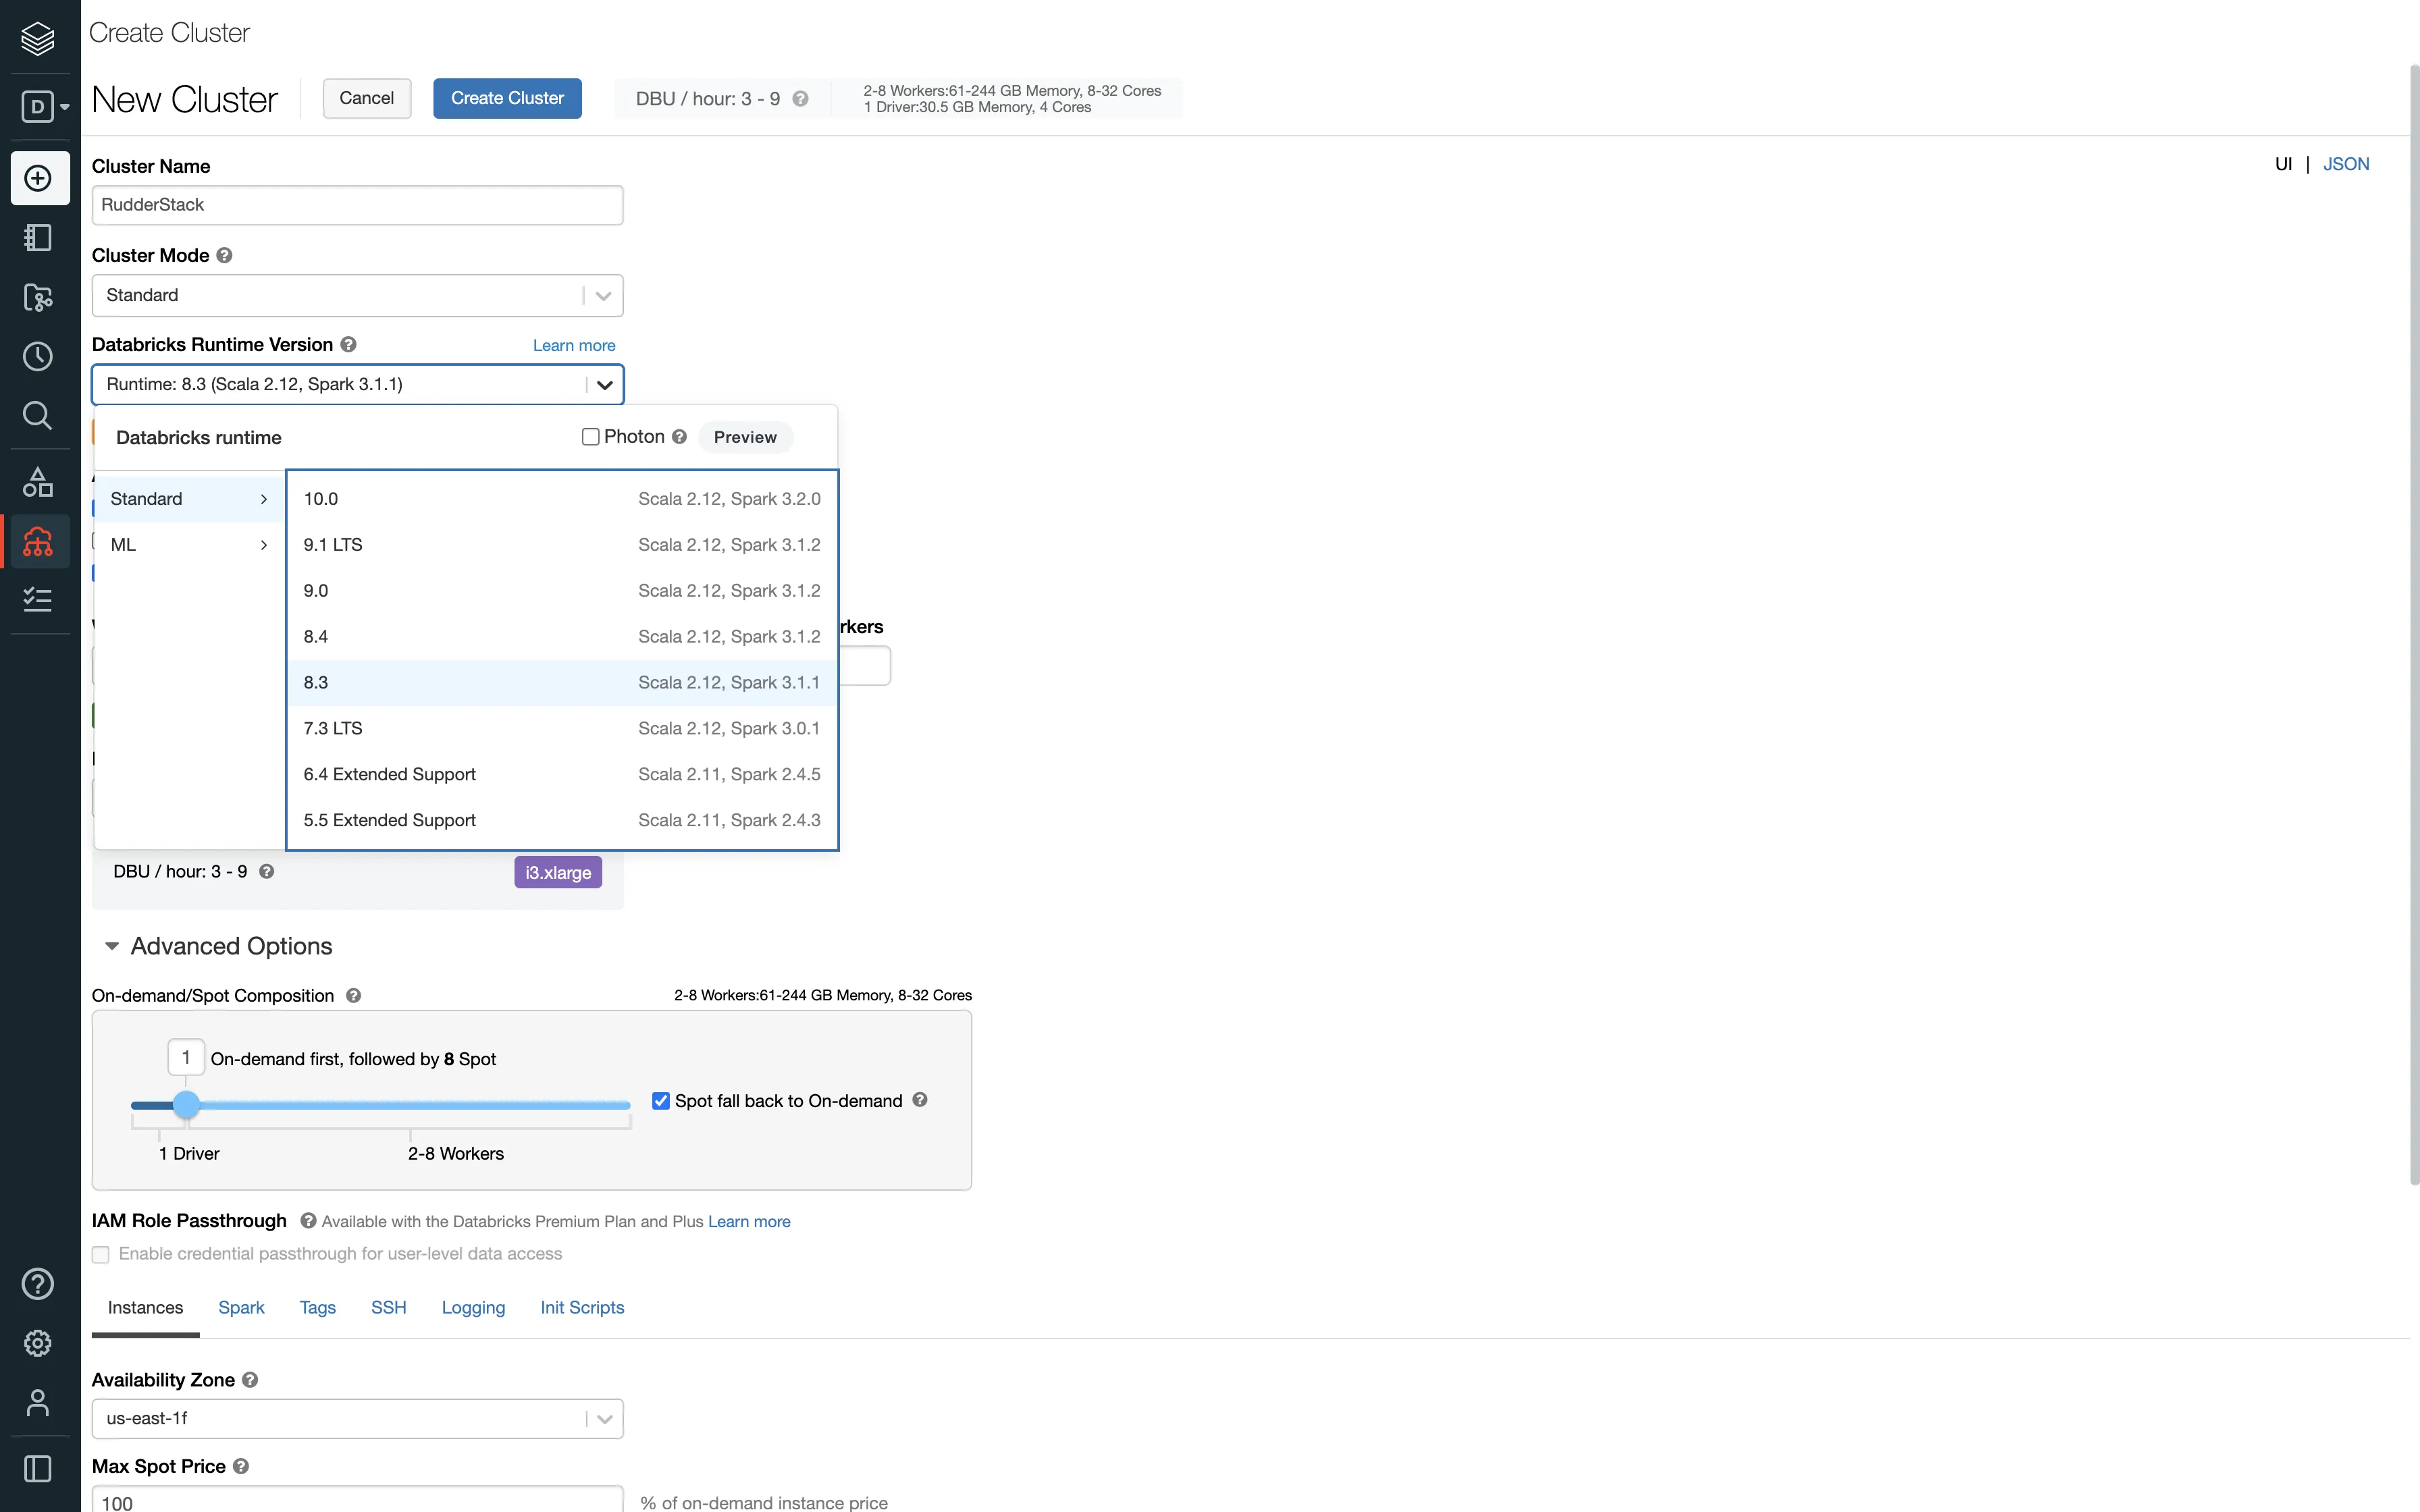
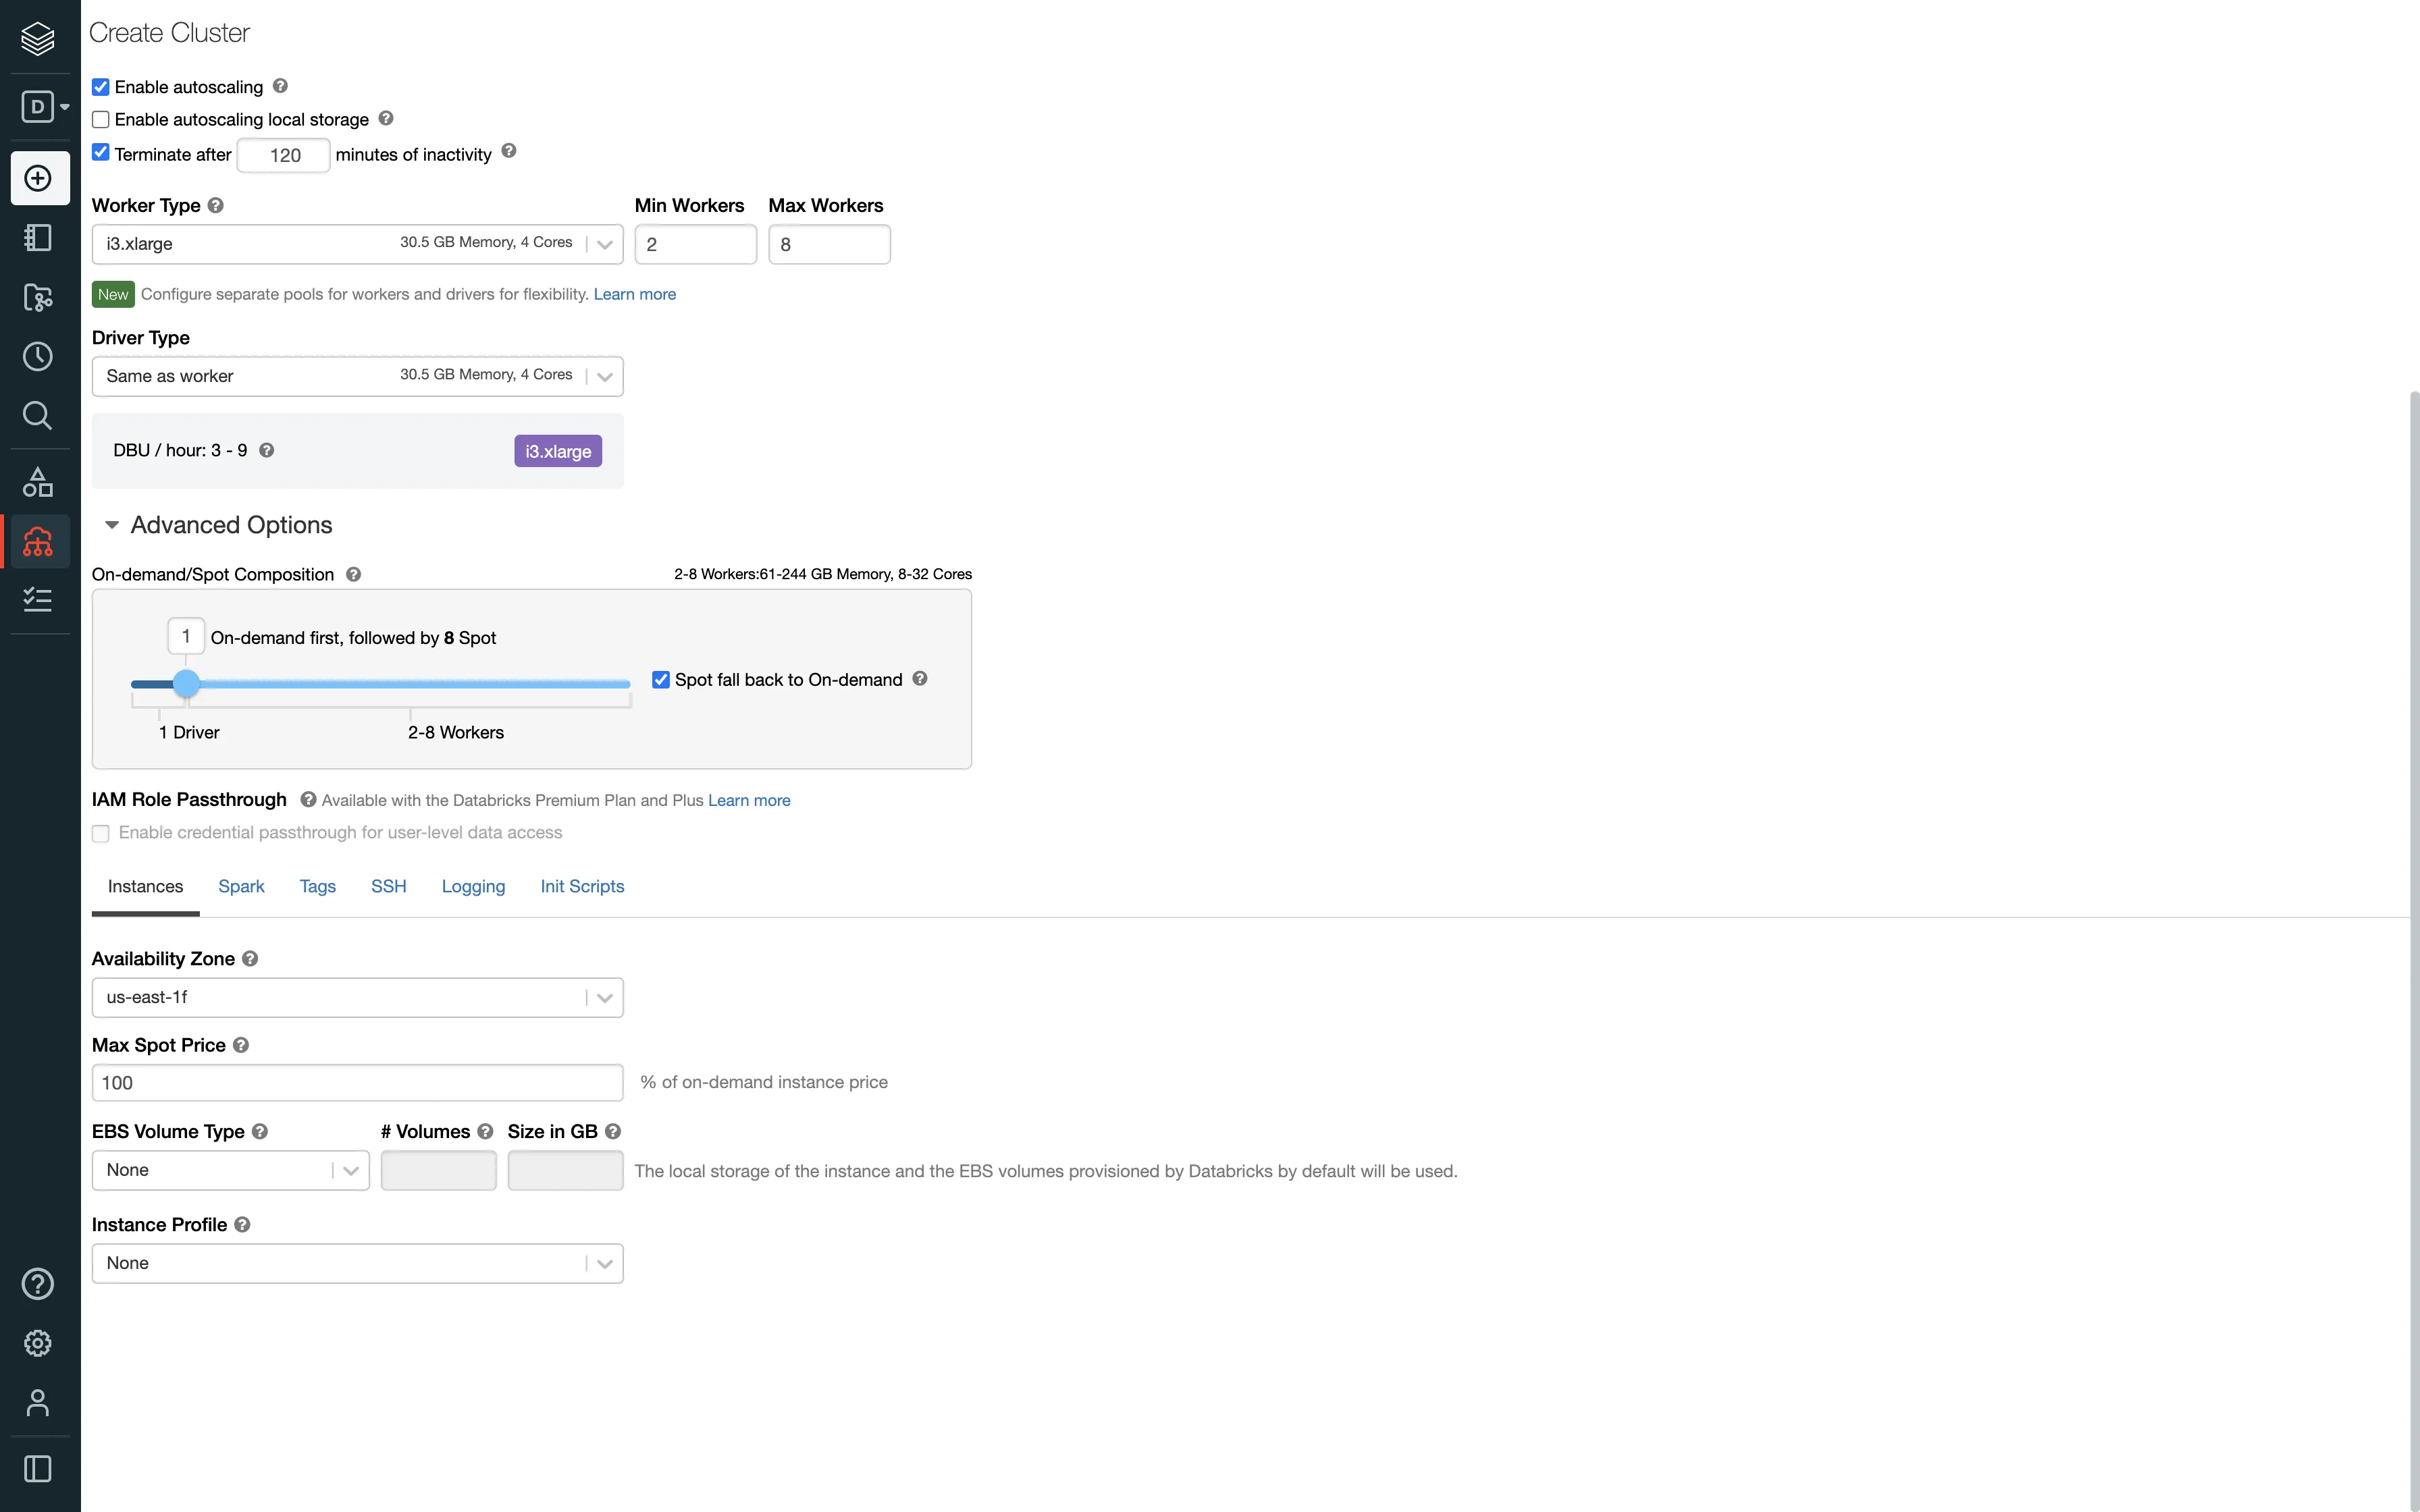
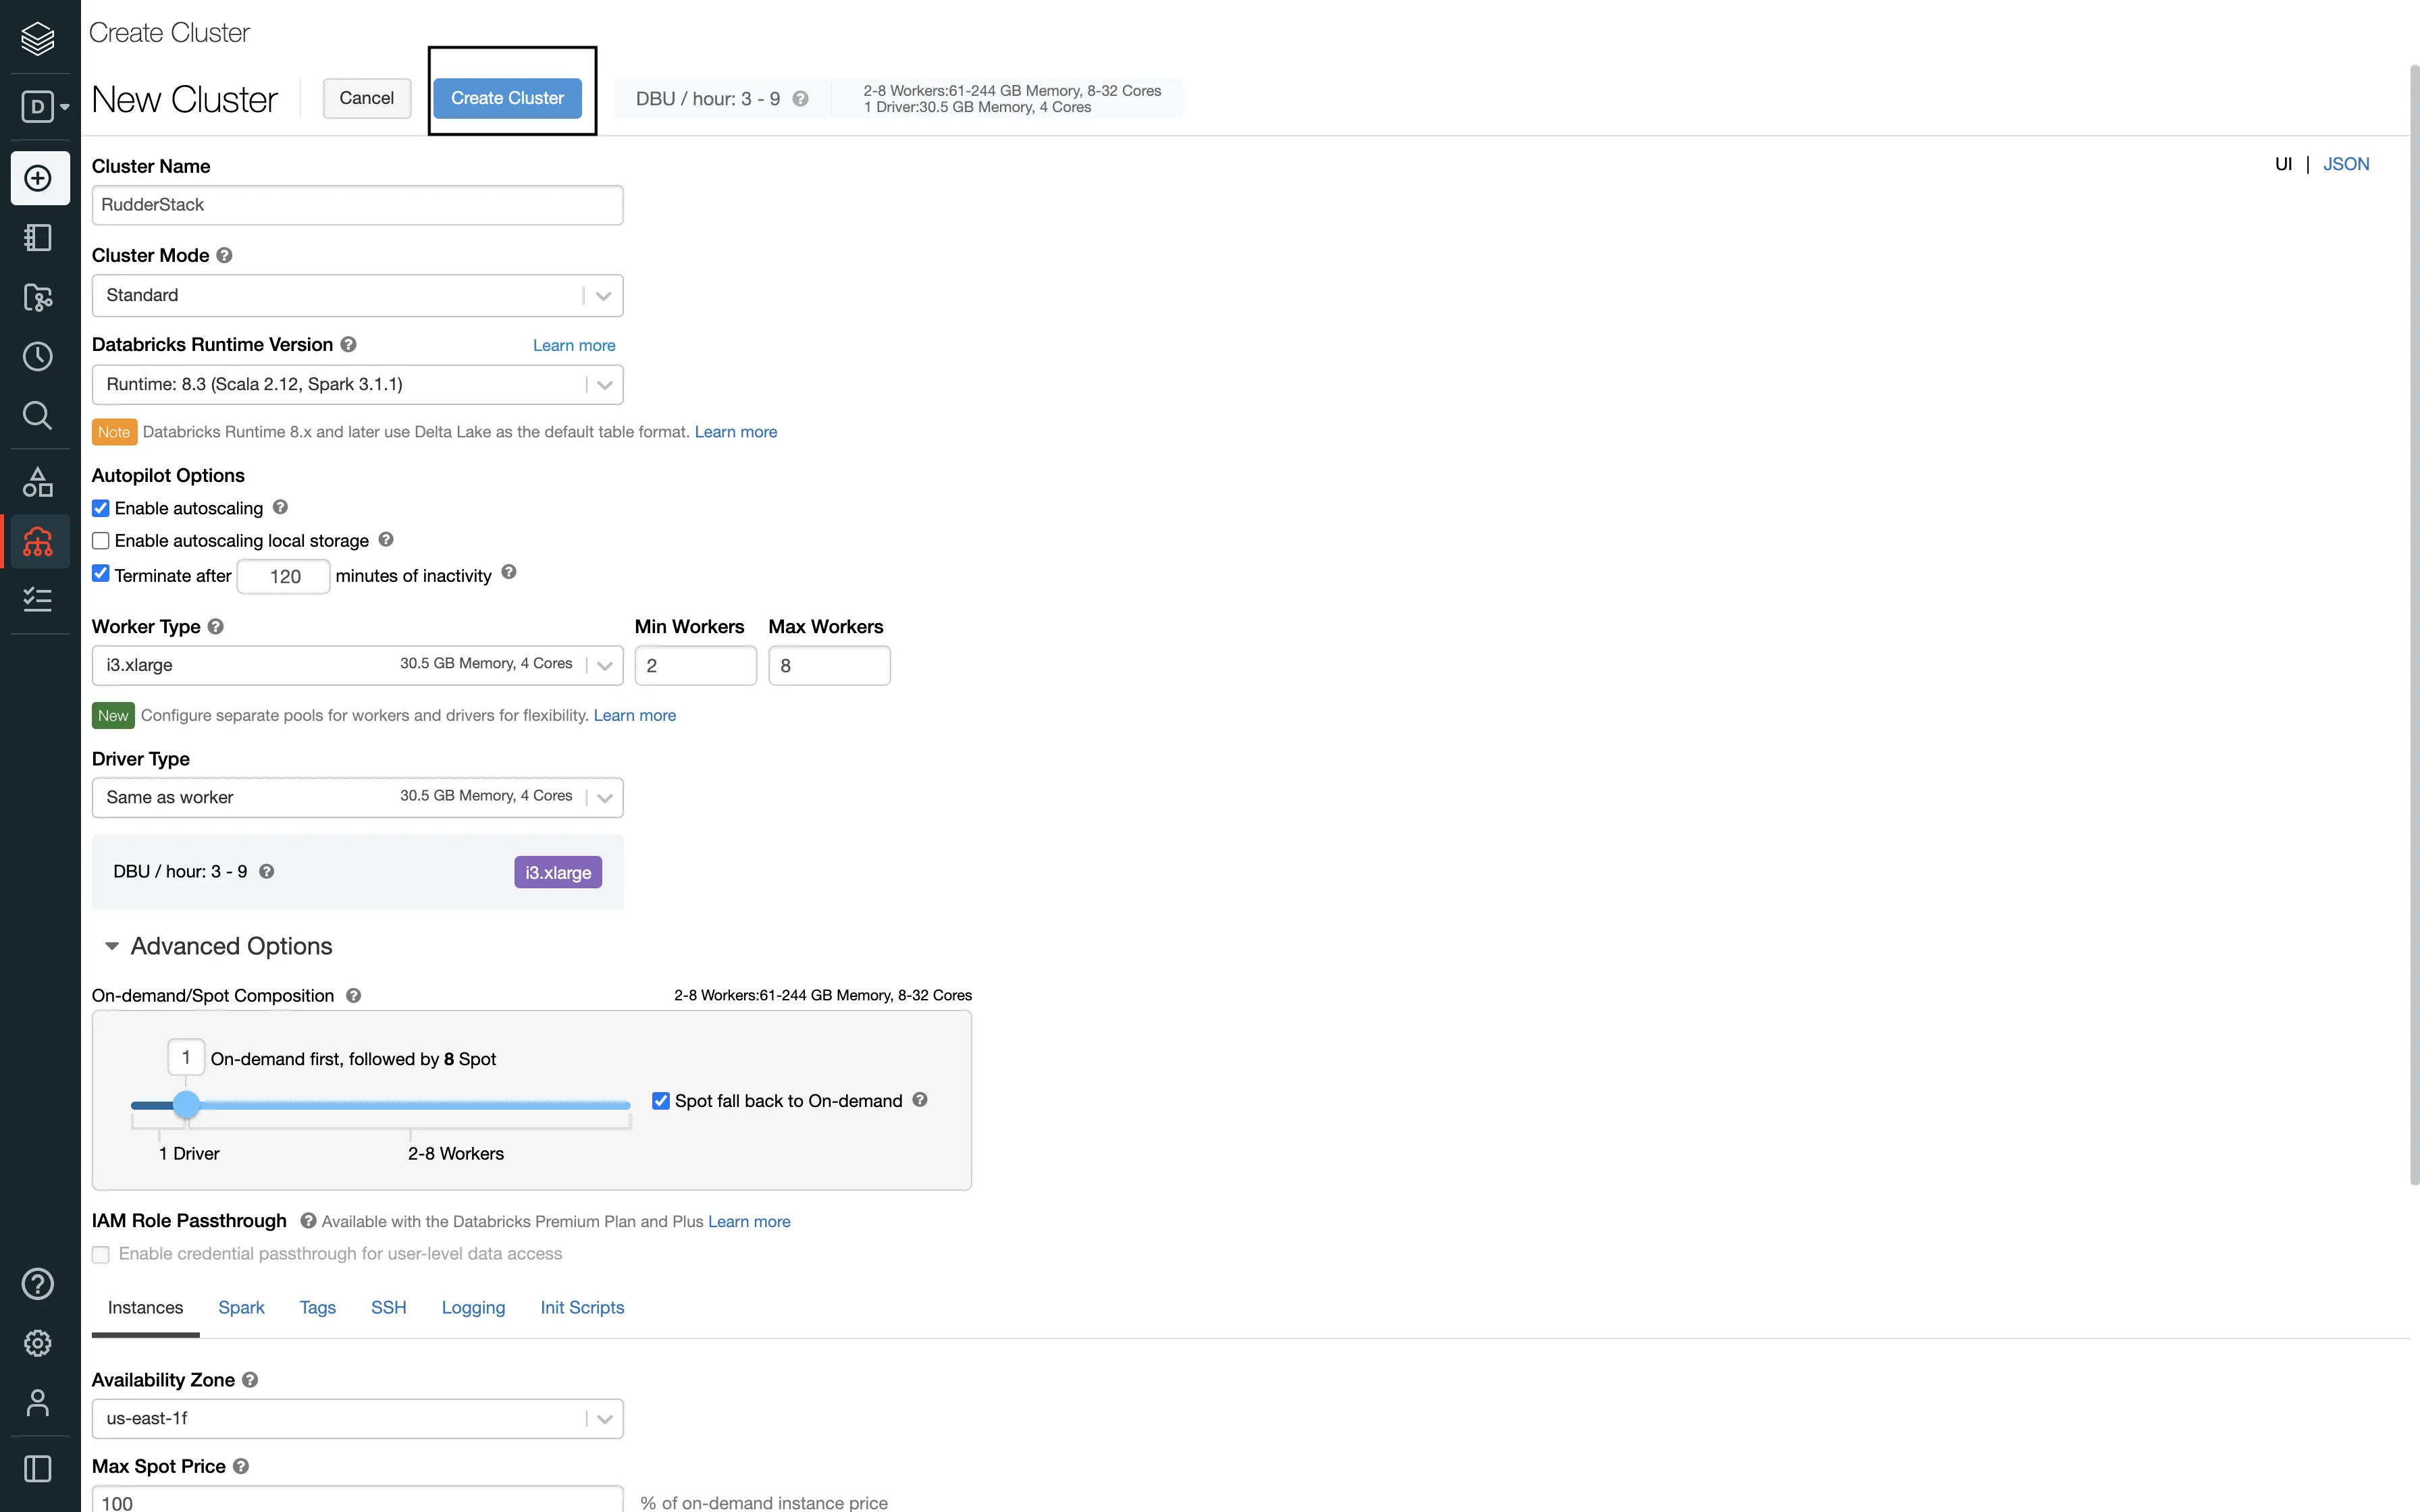
Databricks itself starts up the cluster/endpoint when the connection is established. You just need to configure the automatic termination settings in the Autopilot Options on the cluster creation page:
How does RudderStack handle the reserved words in a column, table, or schema?
There are some limitations when it comes to using reserved words as a schema, table, or column name. If such words are used in event names, traits or properties, they will be prefixed with a _ when RudderStack creates tables or columns for them in your schema.
Also, integers are not allowed at the start of a schema or table name. Hence, such schema, column, or table names will be prefixed with a _. For example, '25dollarpurchase' will be changed to '_25dollarpurchase'.
How can I modify an existing table to a partitioned table?
To modify an existing table to a partitioned table, follow these steps:
Set an exclusion window (using the Exclude window connection setting) so that RudderStack does not process any data while performing the below changes.
Make the required changes in connection settings of the configured Delta Lake destination.
Run the following queries in the Databricks Cluster/SQL endpoints to:
How can I convert an existing managed or unmanaged table at a location to an unmanaged table at a new location?
Set an exclusion window (using the Exclude window connection setting) so that RudderStack does not process any data while performing the below changes.
Run the following queries in the Databricks Cluster/SQL endpoints to:
How do I convert an existing unmanaged table at a specific location to a managed table (at default location)?
Set an exclusion window (using the Exclude window connection setting) so that RudderStack does not process anything while performing the below changes.
Run the following queries in the Databricks Cluster/SQL Endpoints to:
This site uses cookies to improve your experience while you navigate through the website. Out of
these
cookies, the cookies that are categorized as necessary are stored on your browser as they are as
essential
for the working of basic functionalities of the website. We also use third-party cookies that
help
us
analyze and understand how you use this website. These cookies will be stored in your browser
only
with
your
consent. You also have the option to opt-out of these cookies. But opting out of some of these
cookies
may
have an effect on your browsing experience.
Necessary
Always Enabled
Necessary cookies are absolutely essential for the website to function properly. This
category only includes cookies that ensures basic functionalities and security
features of the website. These cookies do not store any personal information.
This site uses cookies to improve your experience. If you want to
learn more about cookies and why we use them, visit our cookie
policy. We'll assume you're ok with this, but you can opt-out if you wish Cookie Settings.